


This article is about how I made my blog (elvisbrevi.com) using AWS "free tier" services to host a static site created with Vite and AWS Cloud Development Kit for creating Cloudformation Stack and deploying them with GitHub Actions, the complete code of this project you can find here https://github.com/elvisbrevi/static-site-cdk.
📚 Prerequisites
Basic bash knowledge, the intention is to use only the terminal for configuration.
Git source controls basic knowledge and a GitHub account. Also, I recommend installing GitHub CLI, which I will use to create the repository.
To have installed AWS CLI, and configured with your credentials.
An AWS account and your credentials (Access Key and Secret Key).
To have installed AWS CDK (Typescript version for this case).
🗂️ Description
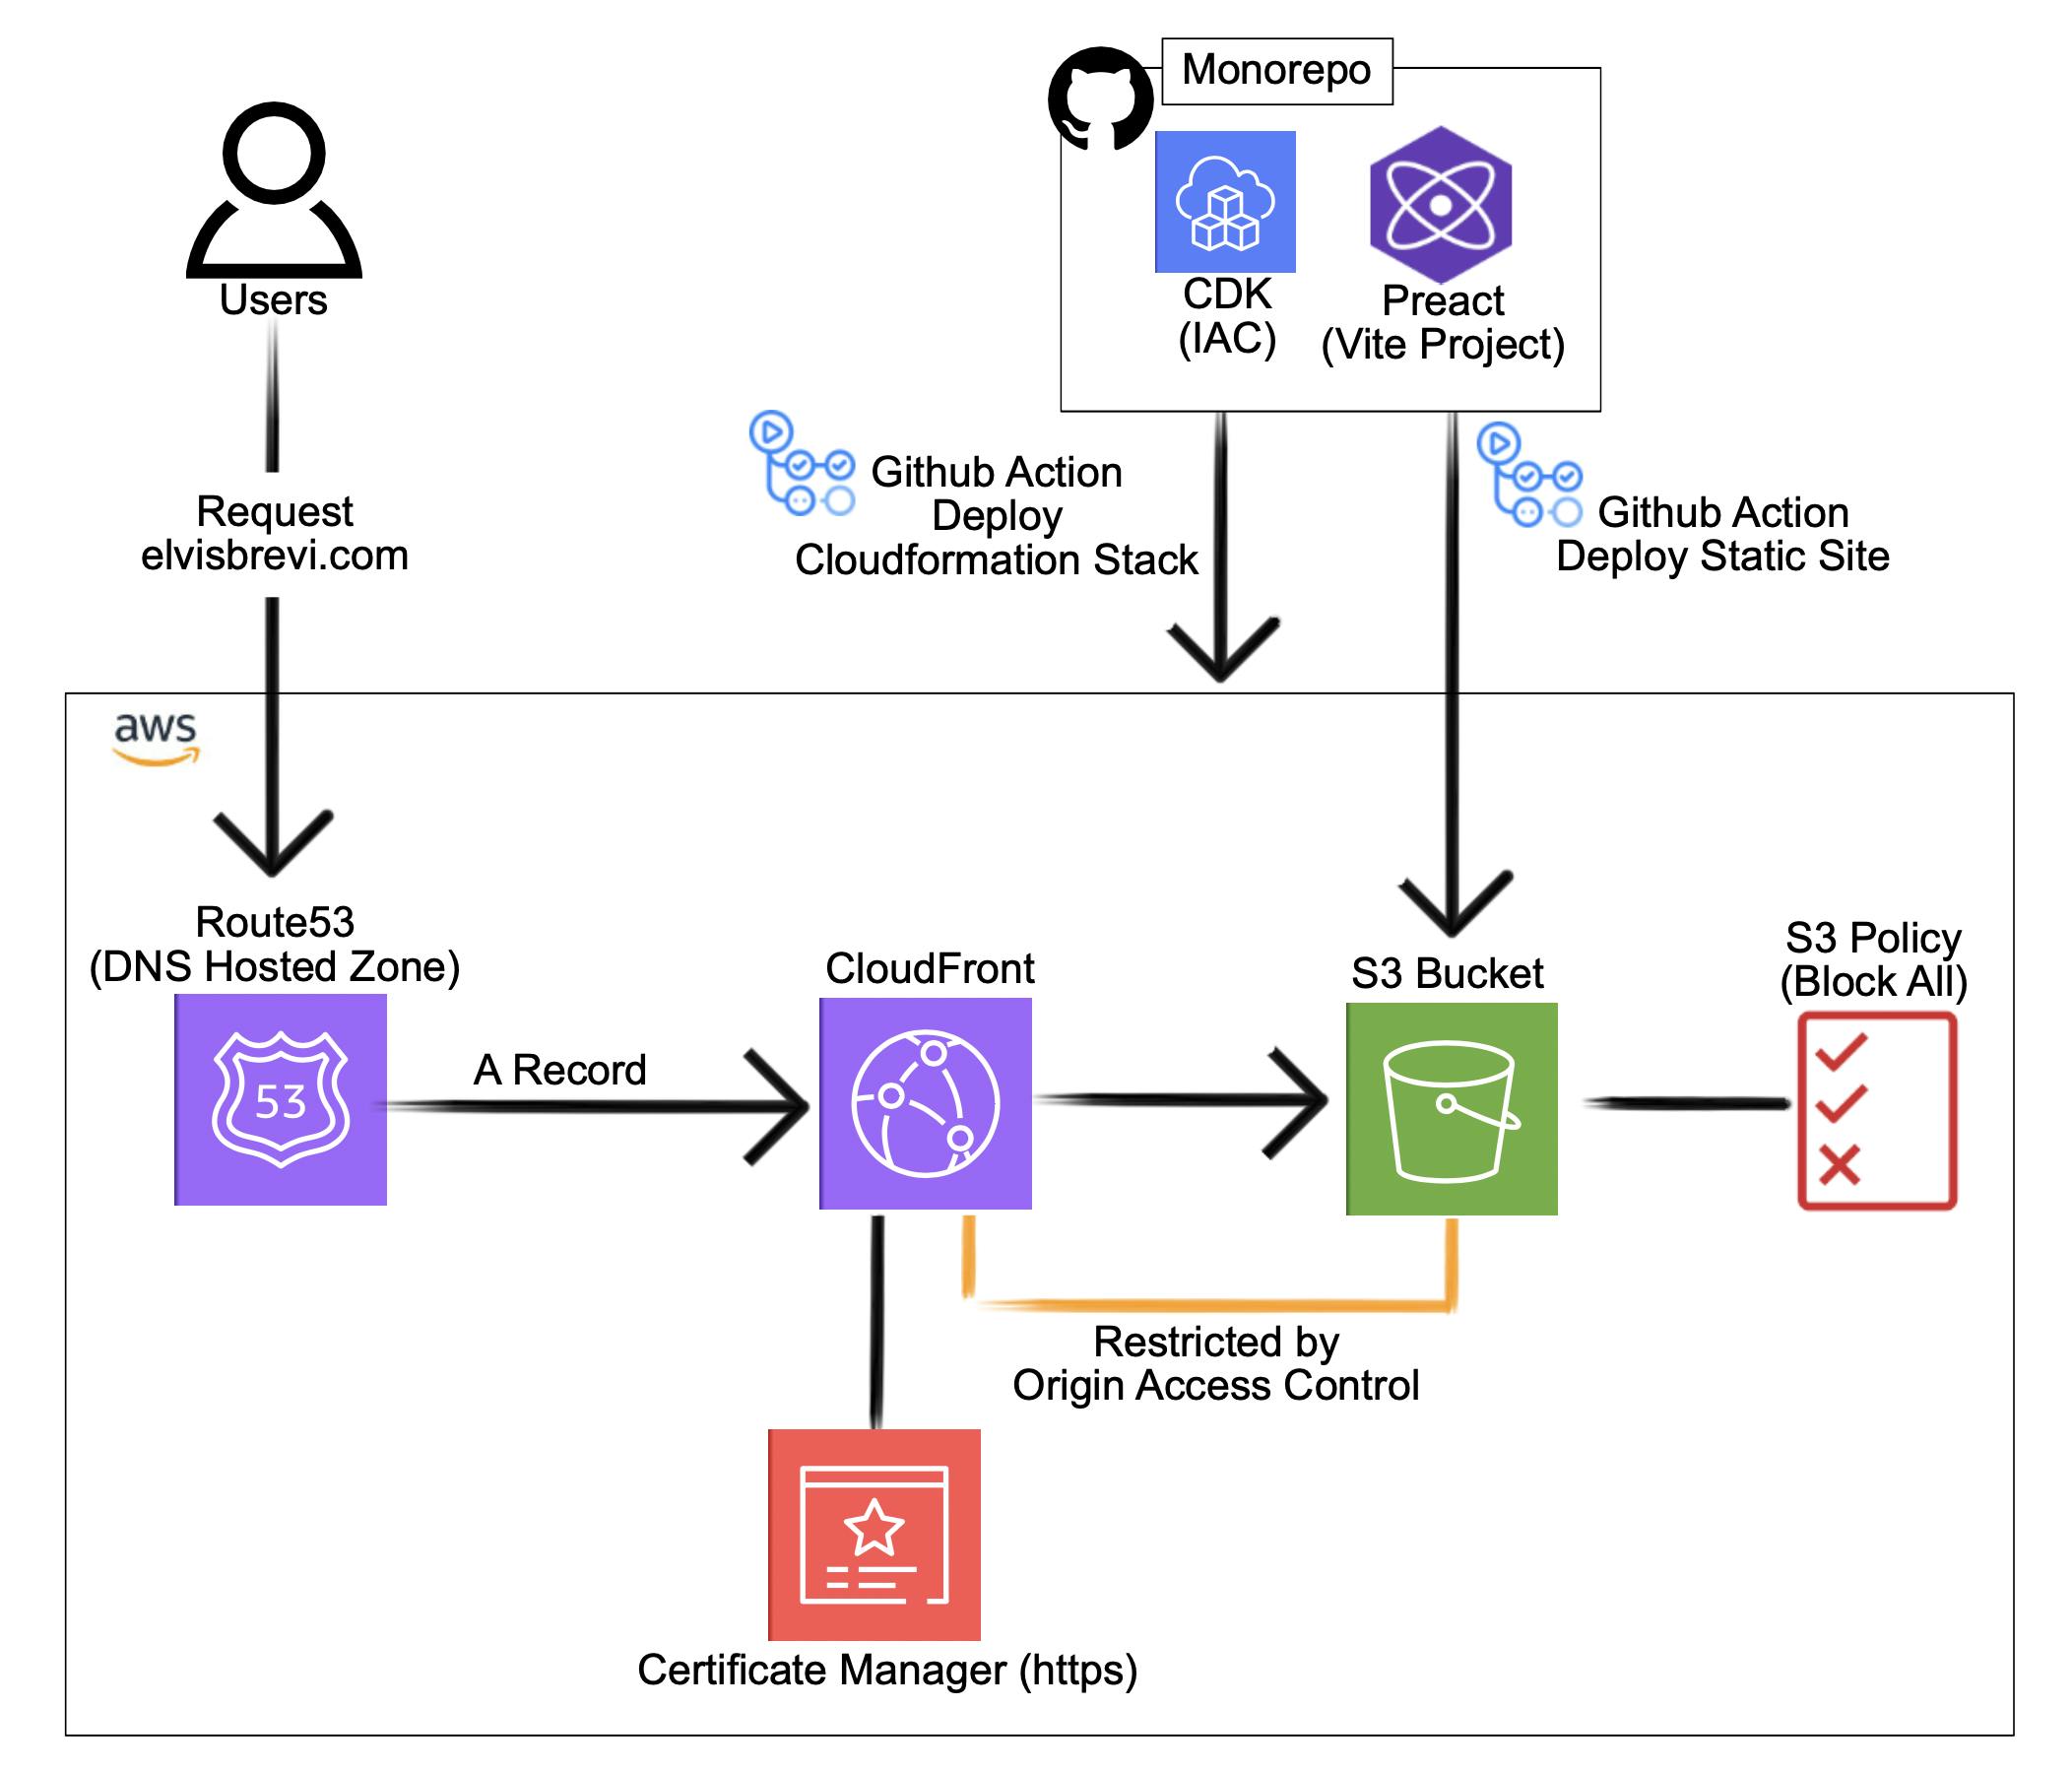
I have a mono-repository hosted on GitHub that contains two projects. The first is a Preact website created with Vite, and the second is a CDK project, infrastructure as code, to create the AWS CloudFormation stack with services that will host the first project (the Preact website) on the web. Additionally, I used GitHub Actions to perform automatic deployments when changes are made to the AWS infrastructure code or the static website.
The AWS services I use are:
Route53 Allows you to register new domain names or transfer existing ones to be managed within the service, I previously registered a domain in this service.
S3 Bucket, with a "Block All" policy, for hosting the static site.
Cloudfront, for distributing the static content from S3 in an optimized way. I have configured a CloudFront distribution to attach the domain, elvisbrevi.com name to the bucket.
AWS Certificate Manager, Secured website using HTTPS protocol. Requested Public Certificates from AWS Certificate Manager. Attached is the SSL/TLS certificate to CloudFront Distribution.
CDK (Cloud Development Kit) for IAC (infrastructure as code).
🗺️ Solution Diagram
🗄️ GitHub Repository
Now we will create a GitHub repository for storing the source code, and create continuous integration and continuous deployment for the project. You can create this by going to https://github.com/new or using the command line tool GitHub CLI instead, I will show you how to do this last thing:
First, install GitHub CLI:
brew install ghCreate a folder project and go to in, use the name you prefer, in my case, I called it "mono repo-project":
 mkdir monorepo-project
 cd monorepo-project
After creating a GitHub repository with the terminal. Make sure you are in the root directory of the project if you typing
lsyou should seefrontendandiacfolder, then continue with the following steps:# initialize git git init # create a file touch readme.md # stage changes git add . # commit changes git commit -m "initial commit" # log into github gh auth login # create repository (use the name you prefer) gh repo create static-site-cdk --public --source=. --remote=upstream --pushAt this point, you can verify your repository by typing:
 # list your GitHub repositories
 gh repo list
if previous steps worked correctly you should see your new repo in the list:

👩🏿💻 Static WebSite (Vite Project)
I use Vite to make a simple static website in Preact with TypeScript, but you can choose a framework if you prefer, follow these steps to create the front:
Then create a vite project (static website) and follow the instruction that appears.
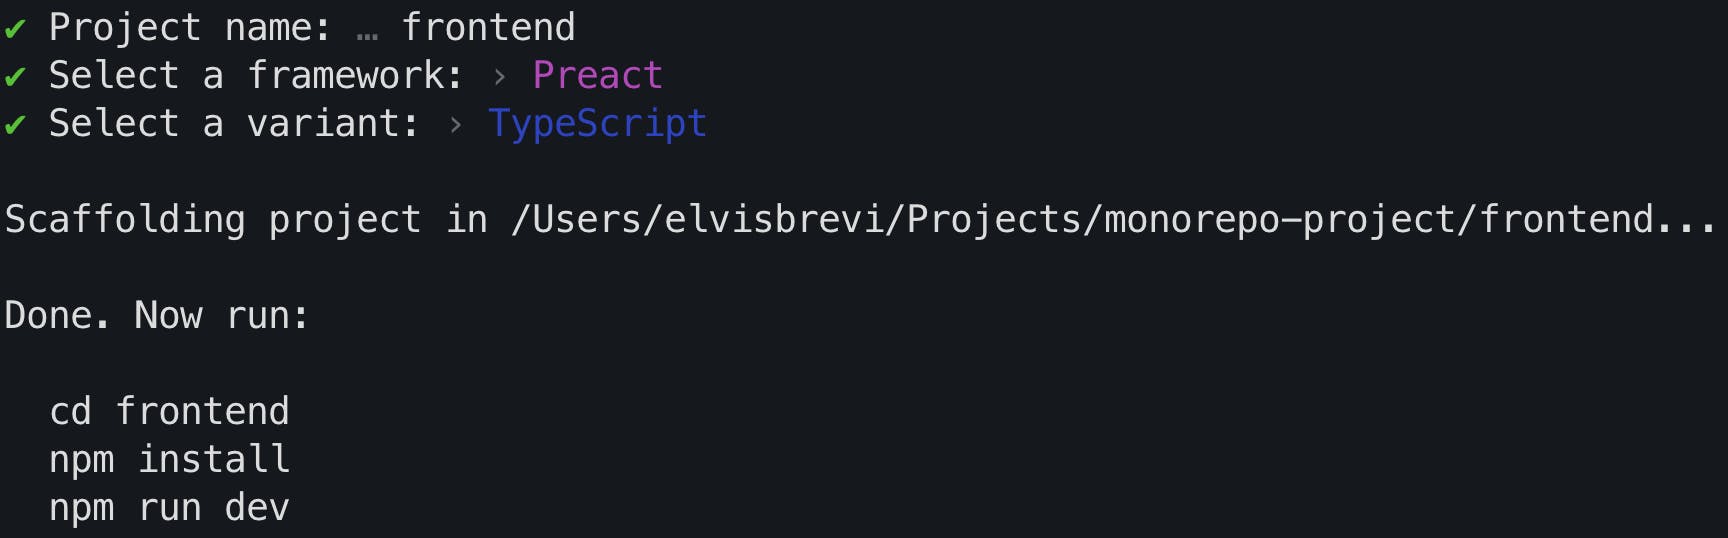
 # create vite project
 npm create vite@latest
After running the previous command, the terminal asks for the name and type of project, I called "frontend" and choose Preact such framework and TypeScript such variant, you will see an output like this:
Now build and run the website locally run these commands:
 # go to the vite project folder
 cd frontend
 # install dependencies
 npm install
 # build project
 npm run build
 # run project locally
 npm run dev
you see an output like this:
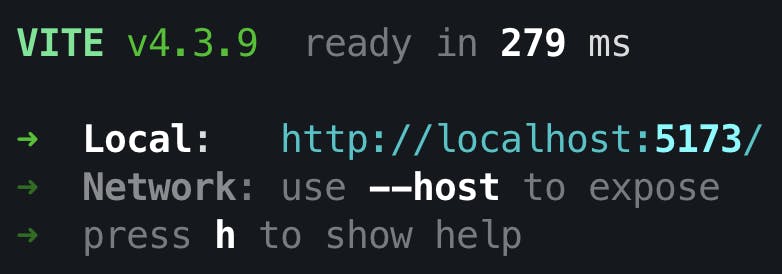
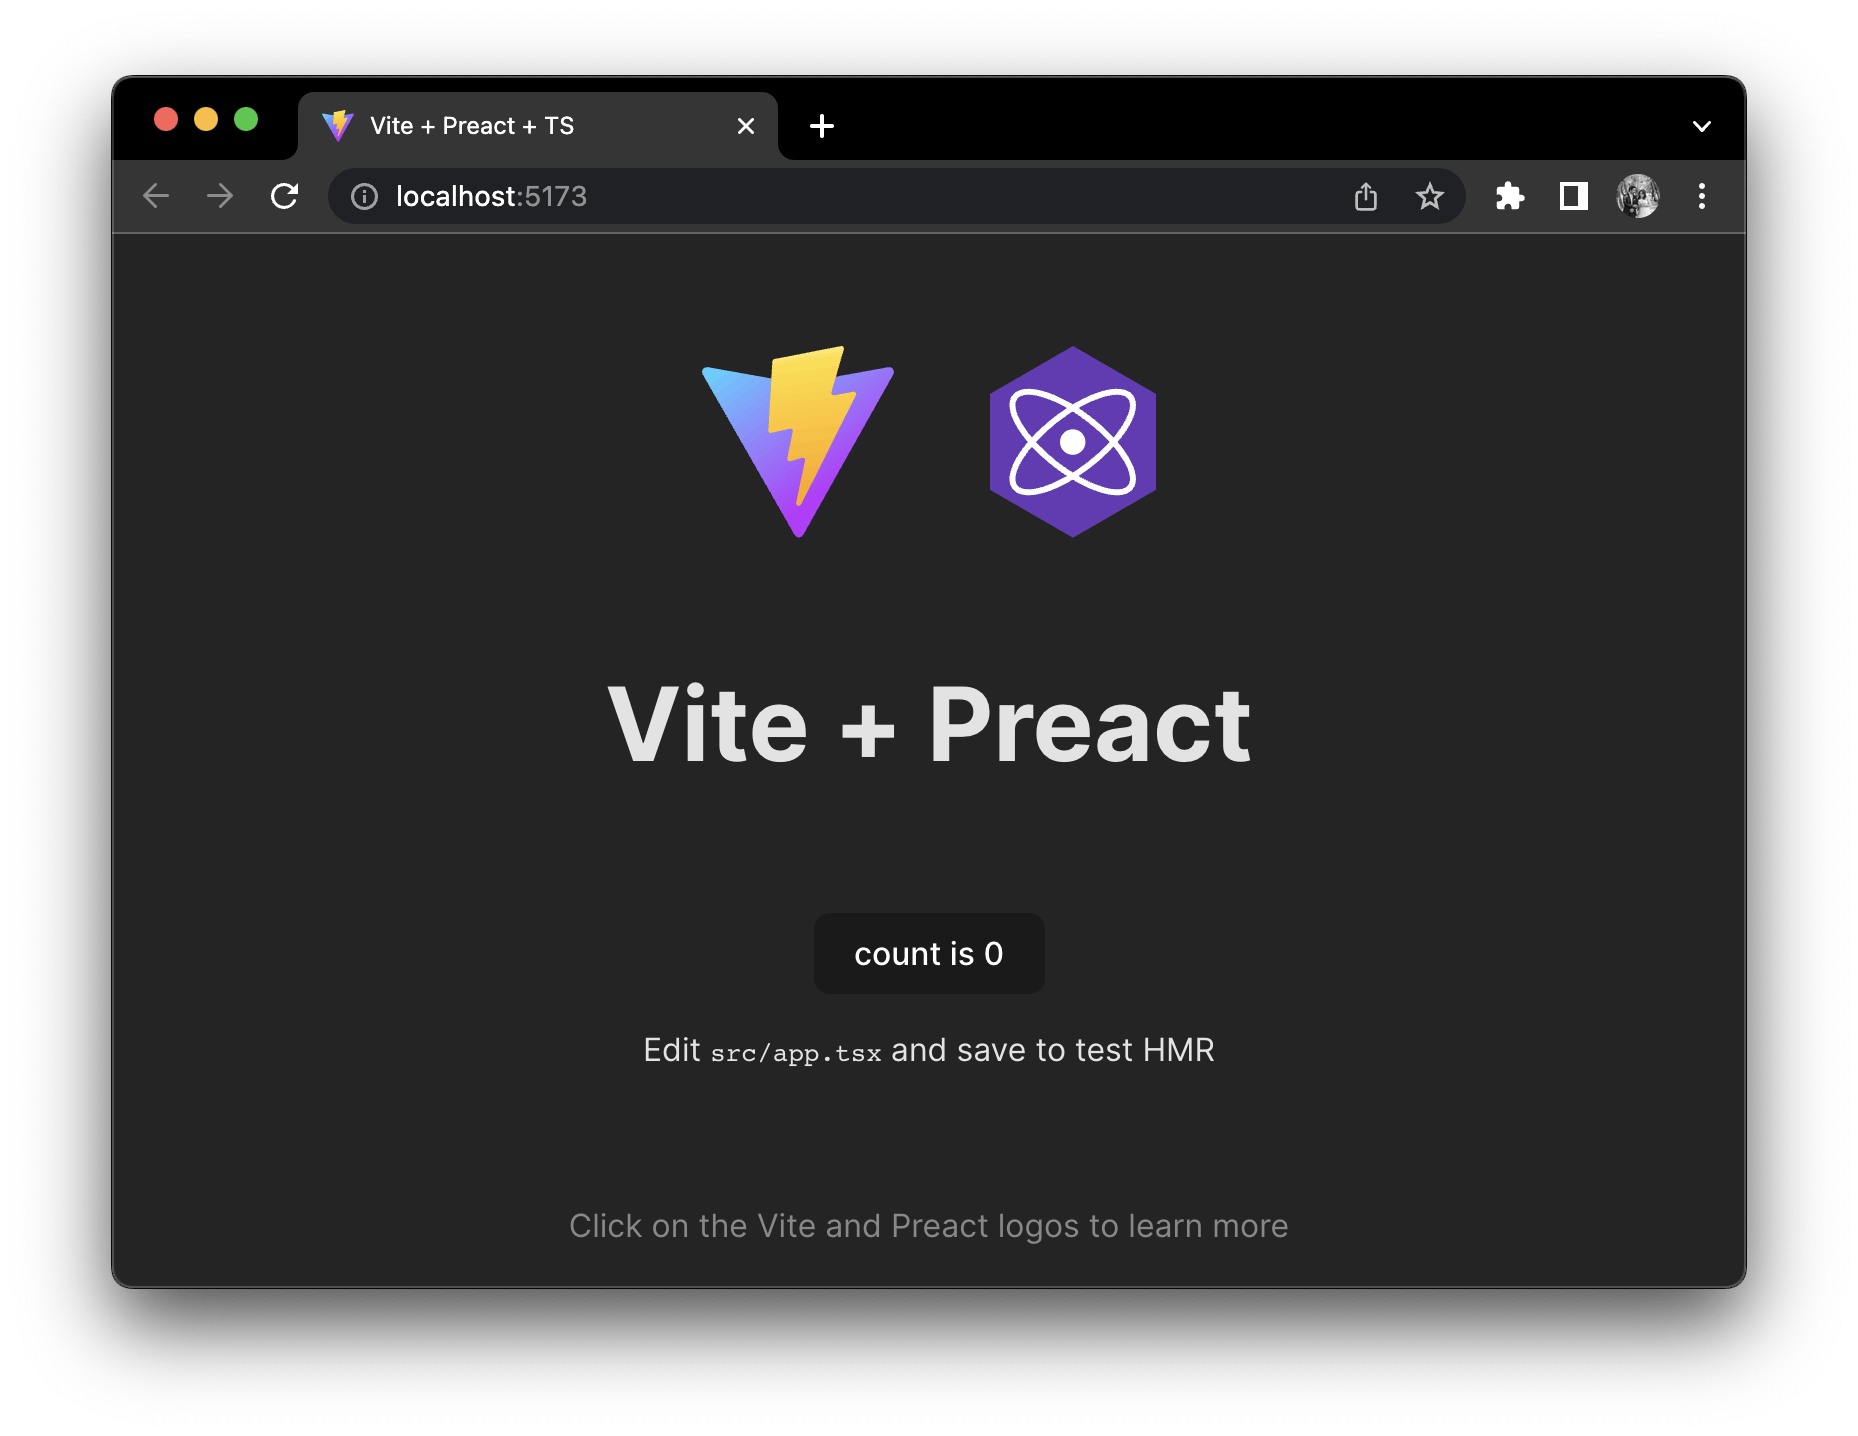
open your web browser and navigate to the "Local" URL, localhost:5173 and right now you can see your website locally:
🏰 Infrastructure as Code (AWS CDK )
Create a folder for infrastructure as code in the root of the project and go there:
 # go to the root folder
 cd ..
 # you can type the command 'pwd' to verify the root folder
 # in my case: /monorepo-project
 pwd
 # make a folder for IAC
 mkdir iac
 # go to the iac folder
 cd iac
Create a CDK project with TypeScript:
 # create CDK project with Typescript
 cdk init --language typescript
after running
cdk inityou will be this output in the terminal: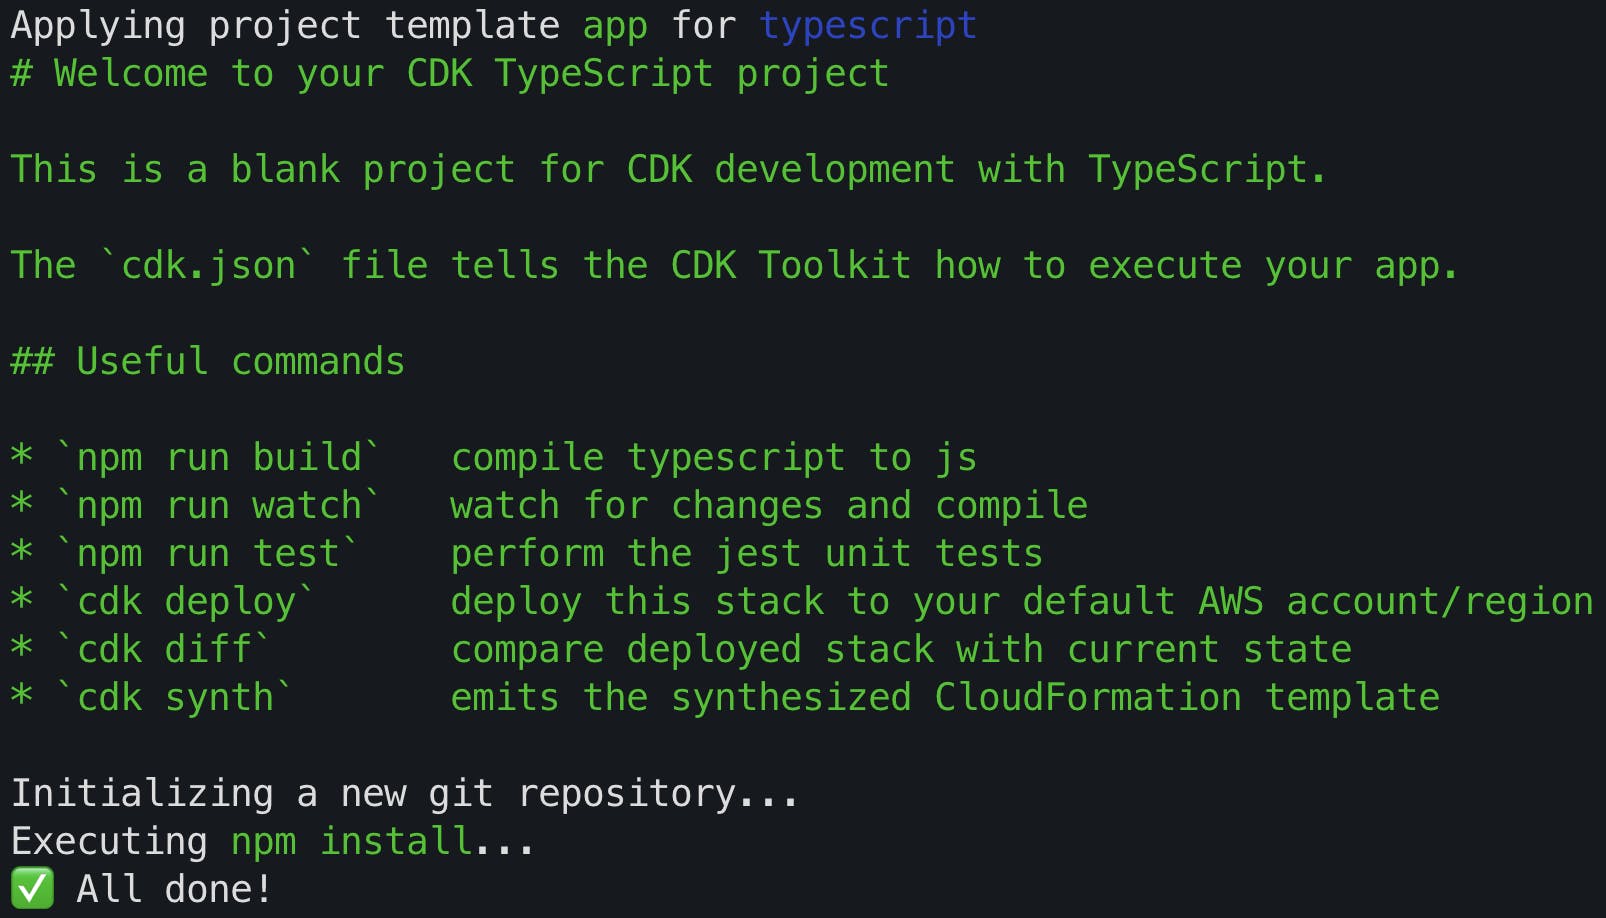
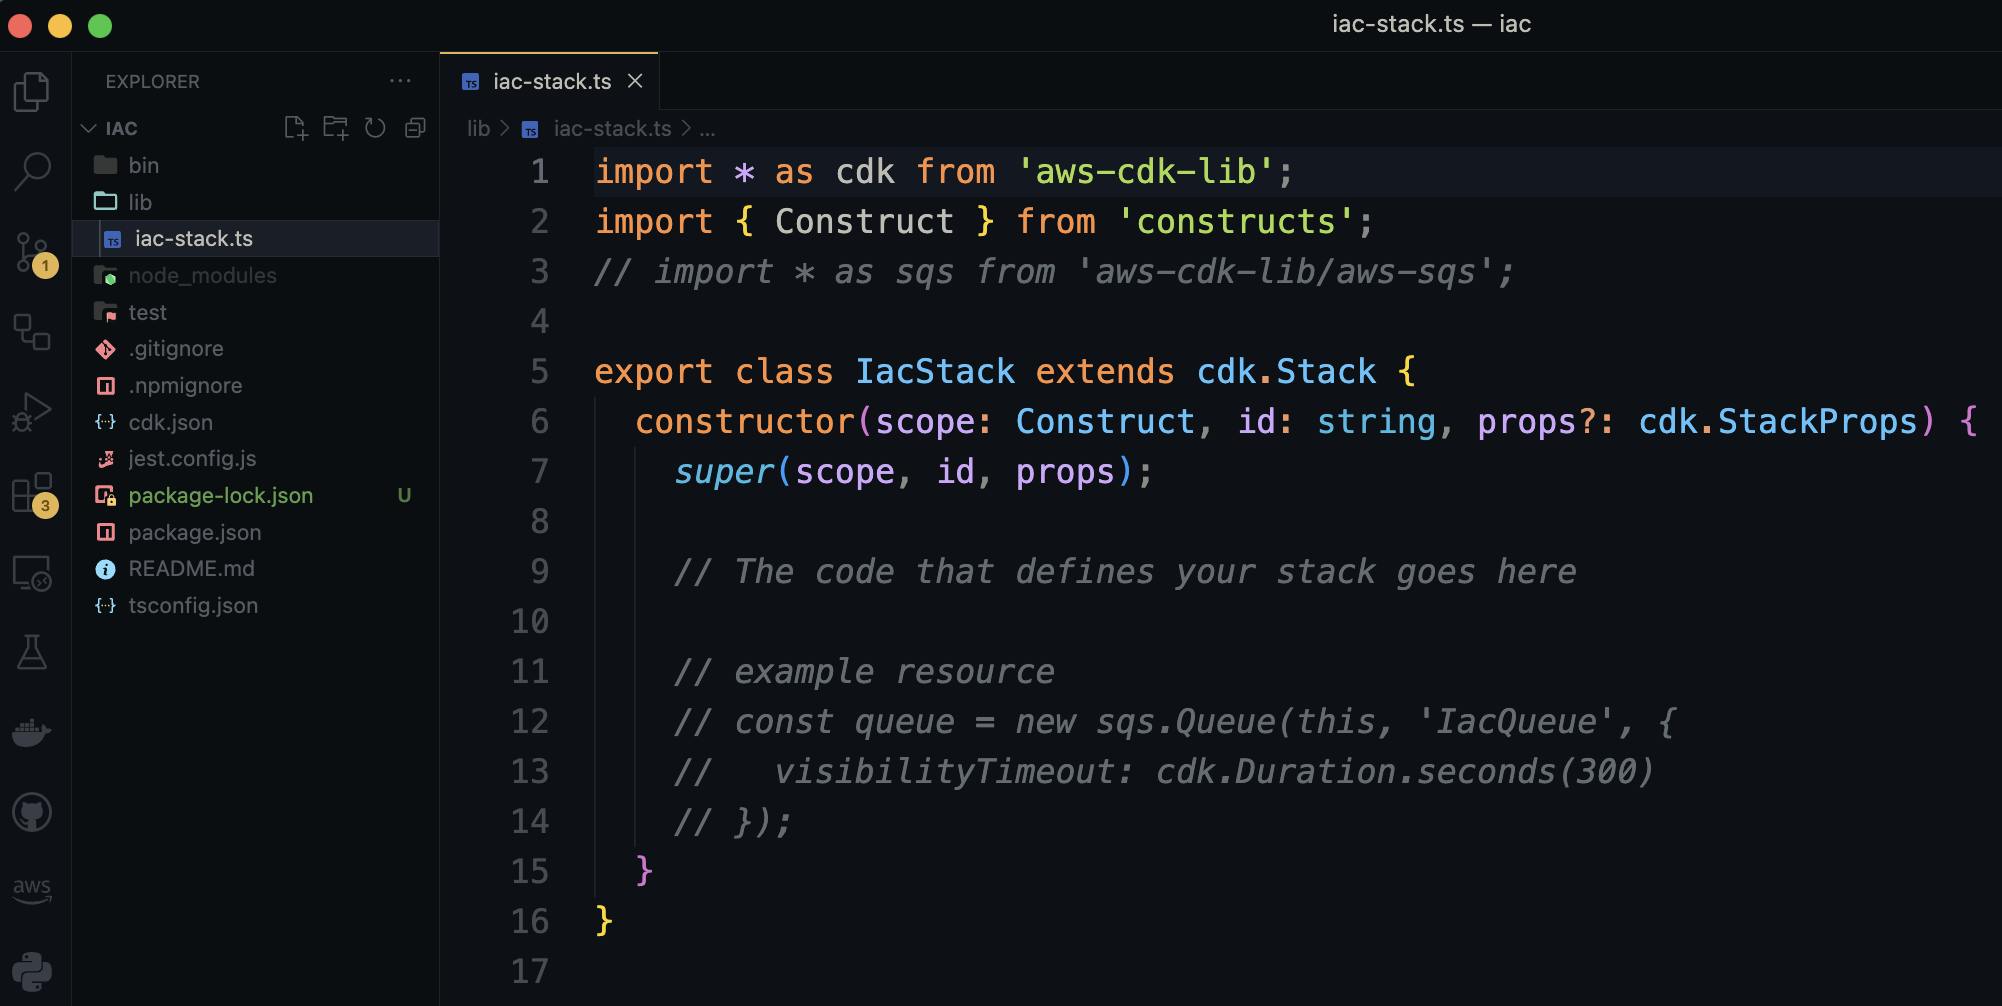
Open a project with your favorite editor, in my case use VS Code and edit, you should edit the file located in the 'lib' folder, in my case the file is called 'iac-stack.ts' and contain a class, in my case, called IacStack, that contains a constructor that will hold the resource I need created, look like this:
Before adding resources, we need to add the imports necessary for instanced the resources classes:
import * as cdk from 'aws-cdk-lib'; import * as s3 from 'aws-cdk-lib/aws-s3'; import * as s3deploy from 'aws-cdk-lib/aws-s3-deployment'; import * as route53 from 'aws-cdk-lib/aws-route53'; import * as acm from 'aws-cdk-lib/aws-certificatemanager'; import * as cloudfront from 'aws-cdk-lib/aws-cloudfront'; import { CloudFrontTarget } from 'aws-cdk-lib/aws-route53-targets'; import { Construct } from 'constructs';'aws-cdk-lib'This package is the main library for working with the AWS CDK and provides various functionalities for defining and deploying AWS infrastructure.'aws-cdk-lib/aws-s3'It allows you to work with Amazon S3 (Simple Storage Service) resources in your CDK stack, such as creating S3 buckets and configuring bucket properties.'aws-cdk-lib/aws-s3-deployment'It provides functionality for deploying files and directories to S3 buckets during the CDK deployment process. It can be used to automate the deployment of static website assets, for example.'aws-cdk-lib/aws-route53'It allows you to work with Amazon Route 53, a scalable domain name system (DNS) web service. You can use this module to manage DNS records and configurations.'aws-cdk-lib/aws-certificatemanager'It provides functionality for managing SSL/TLS certificates using AWS Certificate Manager (ACM). You can use this module to provision and associate SSL certificates with resources like CloudFront distributions or load balancers.'aws-cdk-lib/aws-cloudfront'It allows you to work with Amazon CloudFront, a global content delivery network (CDN) service. You can use this module to define CloudFront distributions and configure their behaviors.'aws-cdk-lib/aws-route53-targets'It provides an abstraction for a Route 53 target that can be associated with a CloudFront distribution. It allows you to easily configure DNS records to point to a CloudFront distribution.'constructs'TheConstructclass is the base class for all CDK constructs. Constructs are the building blocks of a CDK application and represent AWS resources or groups of resources. They provide a way to define and configure AWS infrastructure in a modular and reusable manner.The domain name, in my case I added a name for my domain, that I previously buy with AWS service Route53, in my case, I called "elvisbrevi.com".
 const DOMAIN_NAME = "elvisbrevi.com";
 const WWW_DOMAIN_NAME = `www.${DOMAIN_NAME}`;
Now add the resource that you want to create into the constructor:
Creates an S3 bucket named
staticWebsiteBucketusing theBucketconstruct from theaws-cdk-lib/aws-s3module. It sets the bucket name toDOMAIN_NAME, specifies the index document asindex.html, and blocks public access to the bucket.const staticWebsiteBucket = new s3.Bucket(this, `bucket-${id}`, { websiteIndexDocument: 'index.html', blockPublicAccess: s3.BlockPublicAccess.BLOCK_ALL, bucketName: `static-site-${id}`.toLowerCase() });Retrieves the hosted zone for the domain specified by
DOMAIN_NAMEusing theHostedZone.fromLookupmethod from theaws-cdk-lib/aws-route53module.const hostedZone = route53.HostedZone.fromLookup( this, `HostedZone`, { domainName: DOMAIN_NAME } );Creates an HTTPS certificate named
httpsCertificateusing theCertificateconstruct from theaws-cdk-lib/aws-certificatemanagermodule. It specifies the domain name asDOMAIN_NAMEand includesWWW_DOMAIN_NAMEas an alternative subject name, the certificate validation is performed through DNS validation using the hosted zone obtained in the previous step.const httpsCertificate = new acm.Certificate(this, `cert-${id}`, { domainName: DOMAIN_NAME, subjectAlternativeNames: [WWW_DOMAIN_NAME], validation: acm.CertificateValidation.fromDns(hostedZone), certificateName: `Certificate-${id}`, });Creates an origin access control configuration named
oacusing theCfnOriginAccessControlconstruct from theaws-cdk-lib/aws-cloudfrontmodule. It specifies the configuration for allowing CloudFront to access the S3 origin.const oac = new cloudfront.CfnOriginAccessControl(this, `oac-${id}`, { originAccessControlConfig: { name: `BlogCfnOriginAccessControl`, originAccessControlOriginType: 's3', signingBehavior: 'always', signingProtocol: 'sigv4', }, });Creates a CloudFront distribution named
cloudFrontDistributionusing theCloudFrontWebDistributionconstruct from theaws-cdk-lib/aws-cloudfrontmodule. It sets the default root object, configures the viewer certificate using the previously created HTTPS certificate, specifies the S3 bucket as the source origin, and sets the default behavior to redirect to HTTPS.const cloudFrontDistribution = new cloudfront.CloudFrontWebDistribution(this, `dist-${id}`, { defaultRootObject: 'index.html', viewerCertificate: cloudfront.ViewerCertificate.fromAcmCertificate(httpsCertificate, { aliases: [DOMAIN_NAME, WWW_DOMAIN_NAME] }), originConfigs: [{ s3OriginSource: { s3BucketSource: staticWebsiteBucket }, behaviors: [{ isDefaultBehavior: true, viewerProtocolPolicy: cloudfront.ViewerProtocolPolicy.REDIRECT_TO_HTTPS, }] }], errorConfigurations: [{ errorCode: 403, responsePagePath: '/index.html', responseCode: 200, errorCachingMinTtl: 60 }] });Retrieves the underlying CloudFormation distribution resource and adds an override to set the
OriginAccessControlIdproperty to the ID of the origin access control configuration.const cfnDistribution = cloudFrontDistribution.node.defaultChild as cloudfront.CfnDistribution; cfnDistribution.addPropertyOverride('DistributionConfig.Origins.0.OriginAccessControlId', oac.getAtt('Id'));Adds a bucket policy to
staticWebsiteBucketusing theaddToResourcePolicymethod. It allows CloudFront (cloudfront.amazonaws.com) to read objects (s3:GetObject) from the bucket. The policy is scoped to the CloudFront distribution specified by its ARN.staticWebsiteBucket.addToResourcePolicy( new cdk.aws_iam.PolicyStatement({ effect: cdk.aws_iam.Effect.ALLOW, principals: [new cdk.aws_iam.ServicePrincipal('cloudfront.amazonaws.com')], actions: ['s3:GetObject'], resources: [`${staticWebsiteBucket.bucketArn}/*`], conditions: { StringEquals: { 'AWS:SourceArn': `arn:aws:cloudfront::${ cdk.Aws.ACCOUNT_ID }:distribution/${cloudFrontDistribution.distributionId}` }, } }) );Creates an A record in the hosted zone to redirect requests for the domain name (
DOMAIN_NAME) to the CloudFront distribution using theARecordconstruct from theaws-cdk-lib/aws-route53module.new route53.ARecord(this, `aRecord-${id}`, { zone: hostedZone, target: route53.RecordTarget.fromAlias(new CloudFrontTarget(cloudFrontDistribution)), recordName: DOMAIN_NAME });Creates another A record in the hosted zone to redirect requests for the
WWW_DOMAIN_NAMEsubdomain to the same CloudFront distribution.new route53.ARecord(this, `aRecordwww-${id}`, { zone: hostedZone, target: route53.RecordTarget.fromAlias(new CloudFrontTarget(cloudFrontDistribution)), recordName: WWW_DOMAIN_NAME });This code deploys the website by copying the assets from the
../frontend/distdirectory, the directory where the Vite project builds the frontend files for production, to the AWS bucket (staticWebsiteBucket) using theBucketDeploymentconstruct from theaws-cdk-lib/aws-s3-deploymentmodule. It specifies the distribution paths and the target CloudFront distribution.new s3deploy.BucketDeployment(this, `bucketDeploy-${id}`, { sources: [s3deploy.Source.asset('../client/dist')], destinationBucket: staticWebsiteBucket, distributionPaths: ['/*'], distribution: cloudFrontDistribution });The entire code in your
lib/iac-stack.tsfile should see like this:import * as cdk from 'aws-cdk-lib'; import * as s3 from 'aws-cdk-lib/aws-s3'; import * as s3deploy from 'aws-cdk-lib/aws-s3-deployment'; import * as route53 from 'aws-cdk-lib/aws-route53'; import * as acm from 'aws-cdk-lib/aws-certificatemanager'; import * as cloudfront from 'aws-cdk-lib/aws-cloudfront'; import { CloudFrontTarget } from 'aws-cdk-lib/aws-route53-targets'; import { Construct } from 'constructs'; const DOMAIN_NAME = "elvisbrevi.com"; const WWW_DOMAIN_NAME = `www.${DOMAIN_NAME}`; export class IacStack extends cdk.Stack { constructor(scope: Construct, id: string, props?: cdk.StackProps) { super(scope, id, props); const staticWebsiteBucket = new s3.Bucket(this, `bucket-${id}`, { websiteIndexDocument: 'index.html', blockPublicAccess: s3.BlockPublicAccess.BLOCK_ALL, bucketName: `static-site-${id}`.toLowerCase() }); const hostedZone = route53.HostedZone.fromLookup( this, `HostedZone`, { domainName: DOMAIN_NAME } ); const httpsCertificate = new acm.Certificate(this, `cert-${id}`, { domainName: DOMAIN_NAME, subjectAlternativeNames: [WWW_DOMAIN_NAME], validation: acm.CertificateValidation.fromDns(hostedZone), certificateName: `Certificate-${id}`, }); const oac = new cloudfront.CfnOriginAccessControl(this, `oac-${id}`, { originAccessControlConfig: { name: `BlogCfnOriginAccessControl`, originAccessControlOriginType: 's3', signingBehavior: 'always', signingProtocol: 'sigv4', }, }); const cloudFrontDistribution = new cloudfront.CloudFrontWebDistribution(this, `dist-${id}`, { defaultRootObject: 'index.html', viewerCertificate: cloudfront.ViewerCertificate.fromAcmCertificate(httpsCertificate, { aliases: [DOMAIN_NAME, WWW_DOMAIN_NAME] }), originConfigs: [{ s3OriginSource: { s3BucketSource: staticWebsiteBucket }, behaviors: [{ isDefaultBehavior: true, viewerProtocolPolicy: cloudfront.ViewerProtocolPolicy.REDIRECT_TO_HTTPS, }] }], errorConfigurations: [{ errorCode: 403, responsePagePath: '/index.html', responseCode: 200, errorCachingMinTtl: 60 }] }); const cfnDistribution = cloudFrontDistribution.node.defaultChild as cloudfront.CfnDistribution; cfnDistribution.addPropertyOverride('DistributionConfig.Origins.0.OriginAccessControlId', oac.getAtt('Id')); staticWebsiteBucket.addToResourcePolicy( new cdk.aws_iam.PolicyStatement({ effect: cdk.aws_iam.Effect.ALLOW, principals: [new cdk.aws_iam.ServicePrincipal('cloudfront.amazonaws.com')], actions: ['s3:GetObject'], resources: [`${staticWebsiteBucket.bucketArn}/*`], conditions: { StringEquals: { 'AWS:SourceArn': `arn:aws:cloudfront::${ cdk.Aws.ACCOUNT_ID }:distribution/${cloudFrontDistribution.distributionId}` }, } }) ); new route53.ARecord(this, `aRecord-${id}`, { zone: hostedZone, target: route53.RecordTarget.fromAlias(new CloudFrontTarget(cloudFrontDistribution)), recordName: DOMAIN_NAME }); new route53.ARecord(this, `aRecordwww-${id}`, { zone: hostedZone, target: route53.RecordTarget.fromAlias(new CloudFrontTarget(cloudFrontDistribution)), recordName: WWW_DOMAIN_NAME }); new s3deploy.BucketDeployment(this, `bucketDeploy-${id}`, { sources: [s3deploy.Source.asset('../frontend/dist')], destinationBucket: staticWebsiteBucket, distributionPaths: ['/*'], distribution: cloudFrontDistribution }); } }Now, before deploying this stack you must set your environment variables for your CDK Project, go to the "bin" folder in your IAC project, and open the .ts file, in my case called "iac.ts", this looks like this:
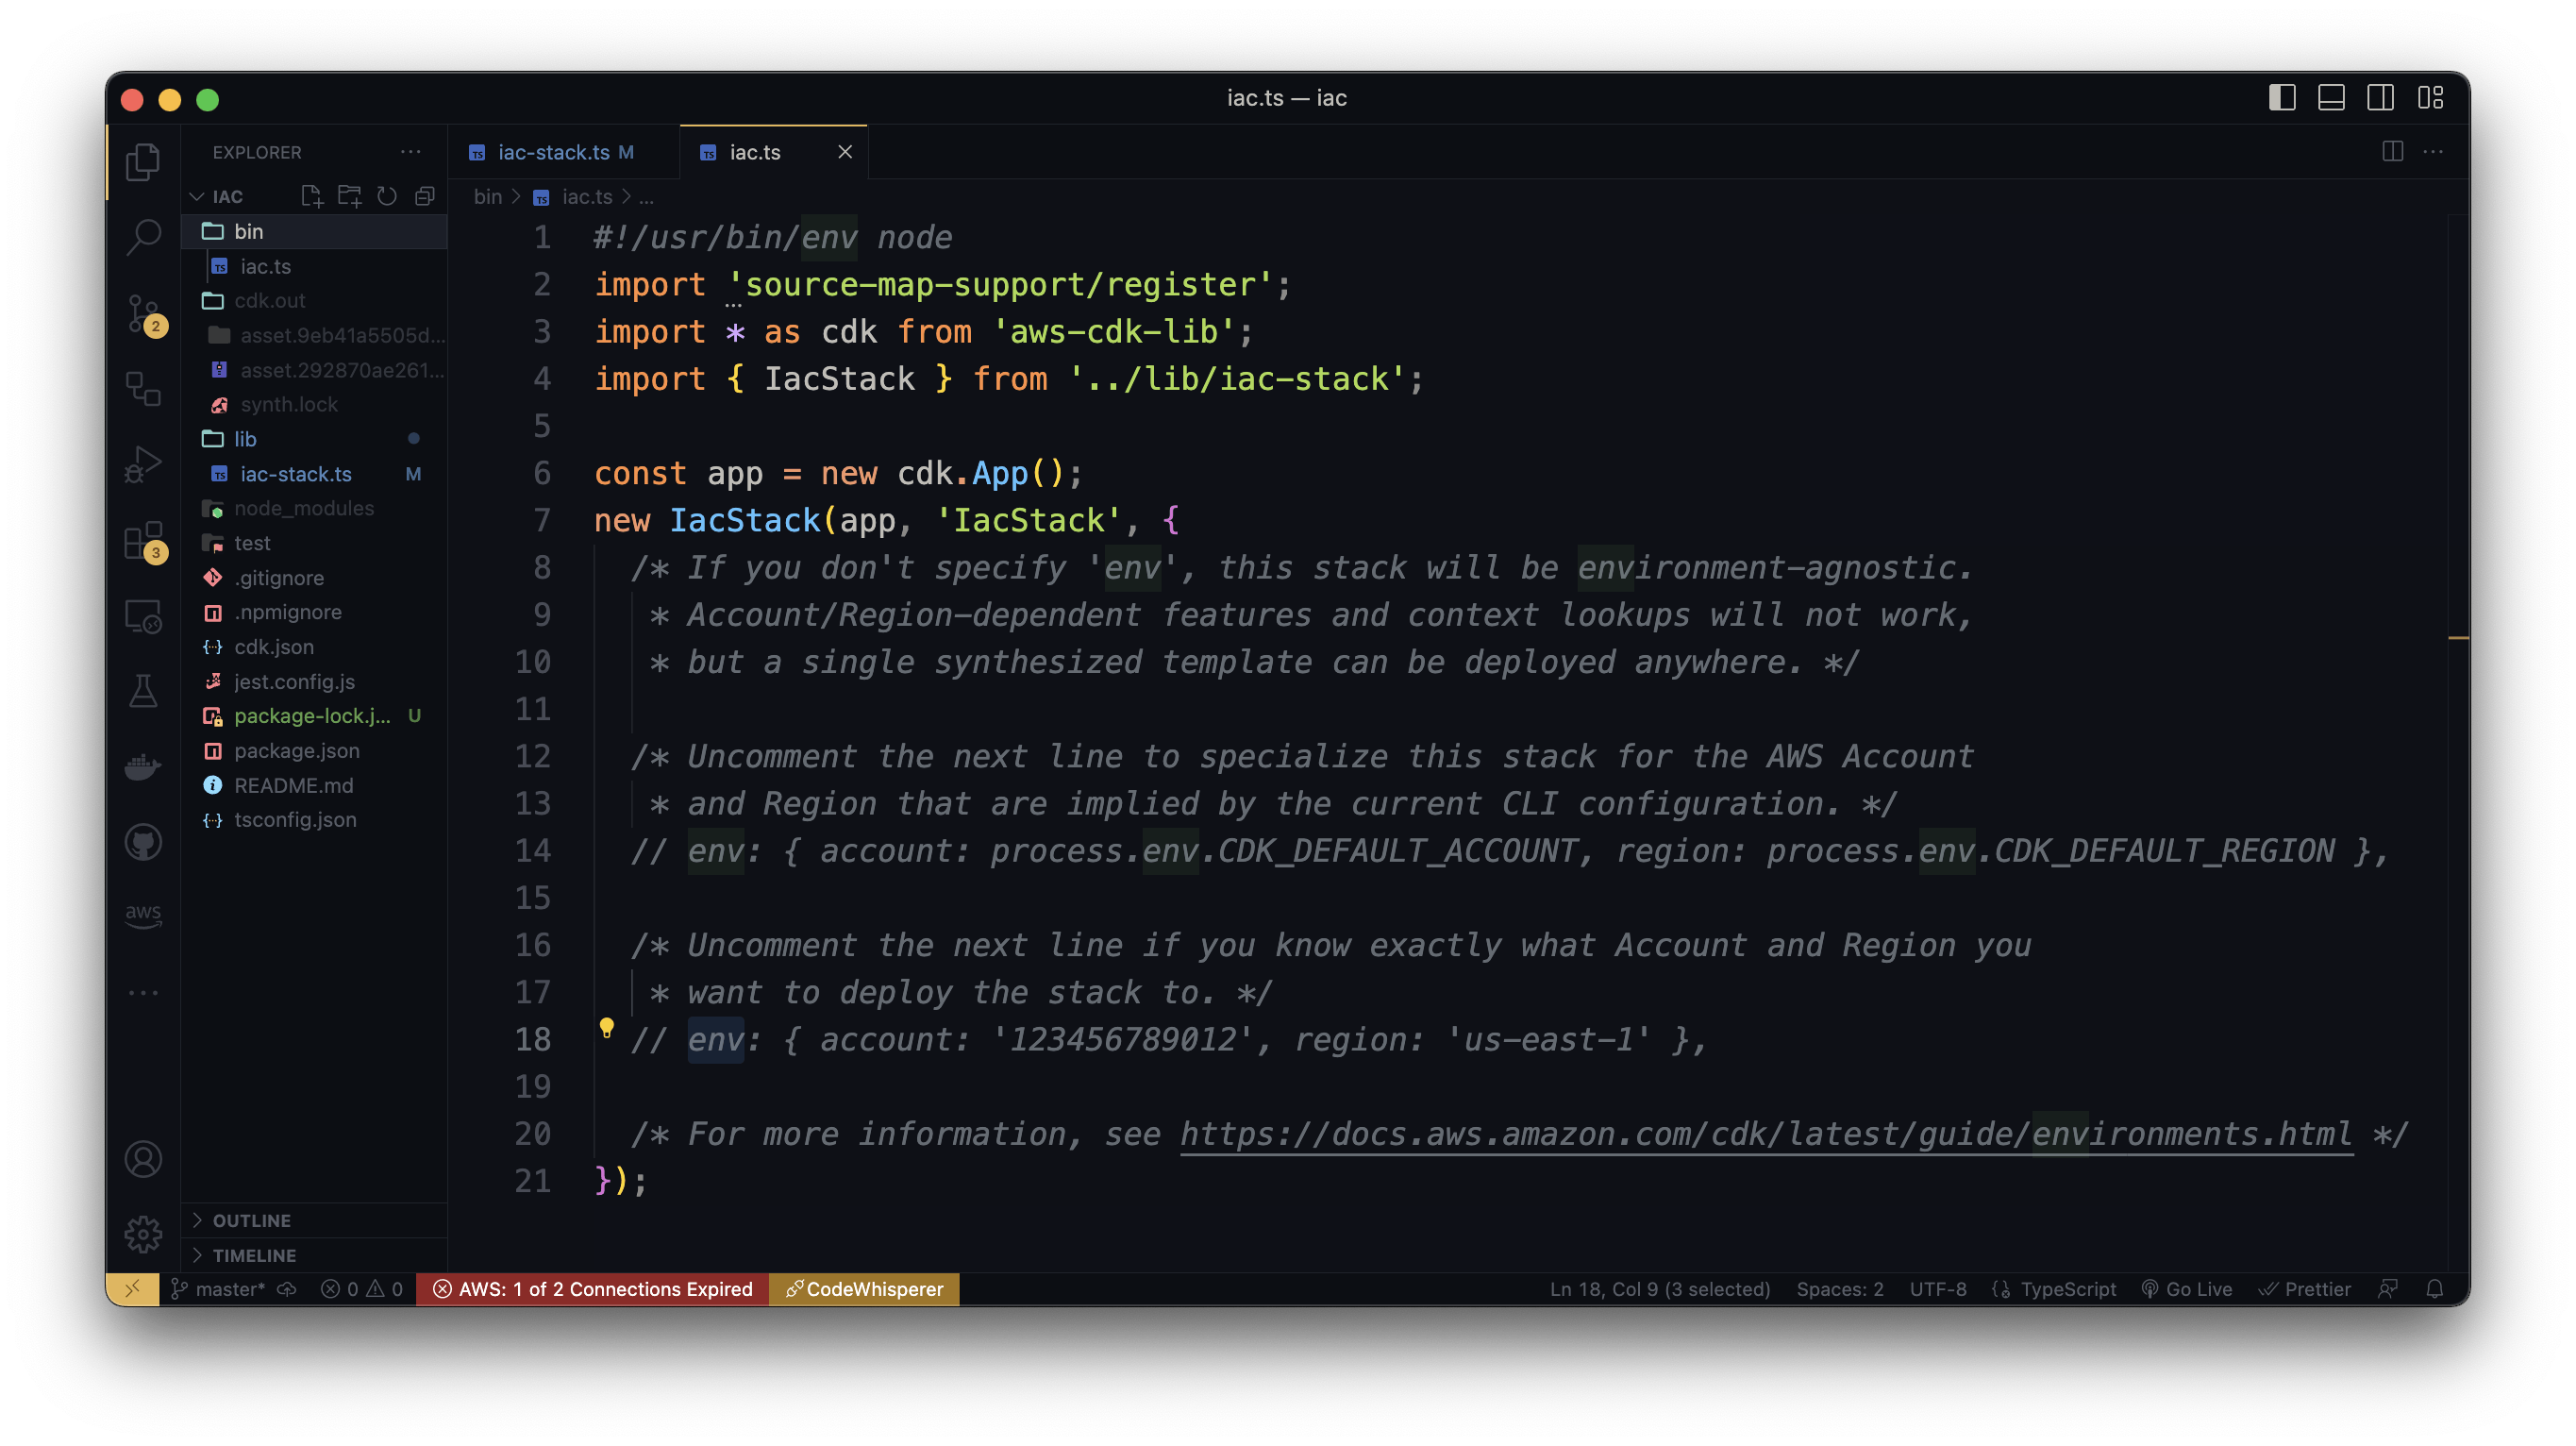
Uncomment the line with default env variables, and delete other lines' comments, the result of your
bin/iac.tswill look like this:#!/usr/bin/env node import 'source-map-support/register'; import * as cdk from 'aws-cdk-lib'; import { IacStack } from '../lib/iac-stack'; const app = new cdk.App(); new IacStack(app, 'IacStack', { env: { account: process.env.CDK_DEFAULT_ACCOUNT, region: process.env.CDK_DEFAULT_REGION }, });At this point, you can check the stacks list of this project:
cdk listExecuting the previous command, the terminal will return the name of your stack, in my case:
IacStack.Now you can deploy this stack to the AWS, go to the terminal, make sure you are in the folder of your infrastructure-as-code project, and type the deploy command:
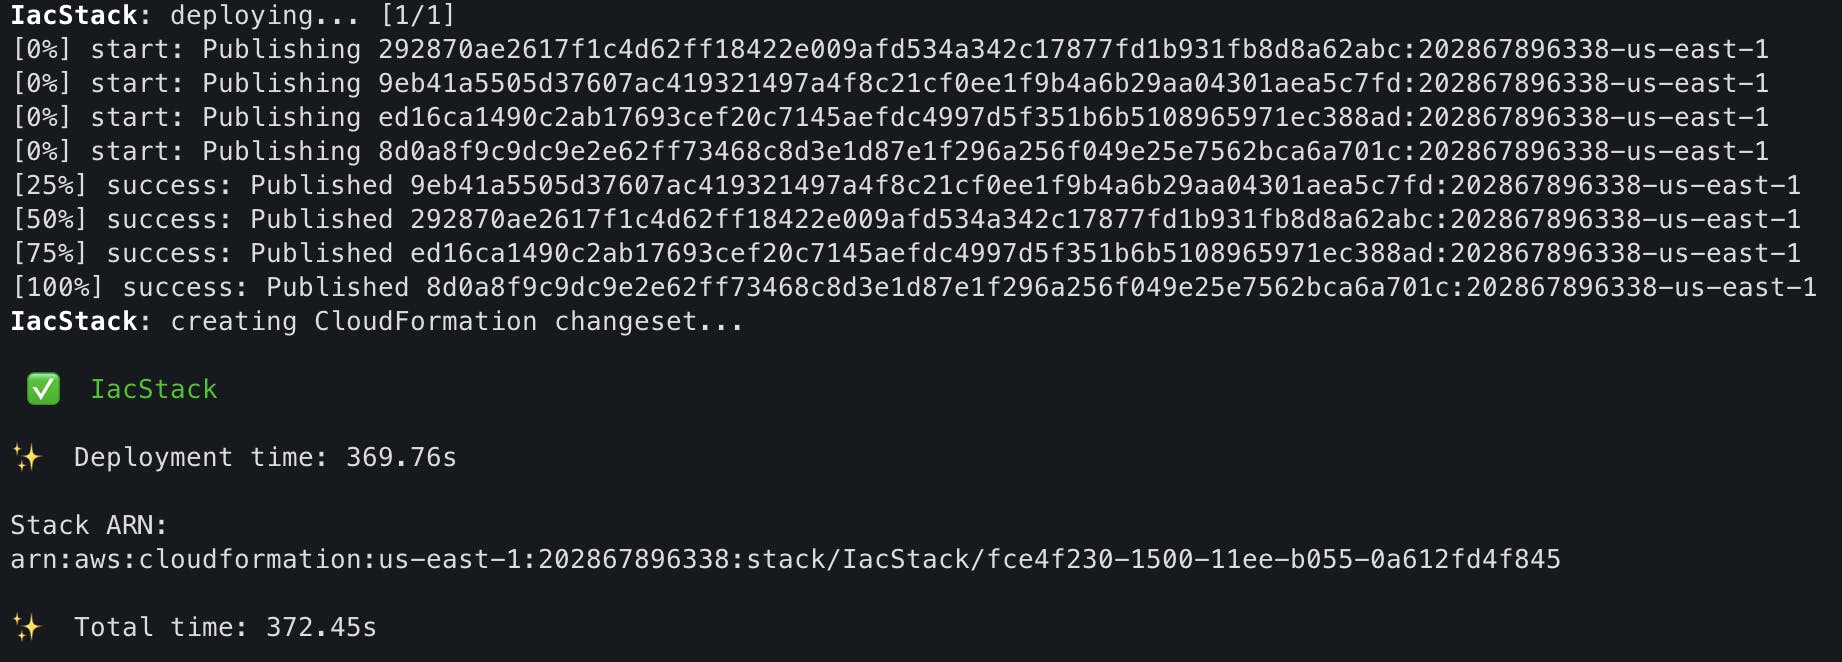
cdk deployIn the terminal you will see the list of resources that will be created and ask you to confirm the AWS services creation:
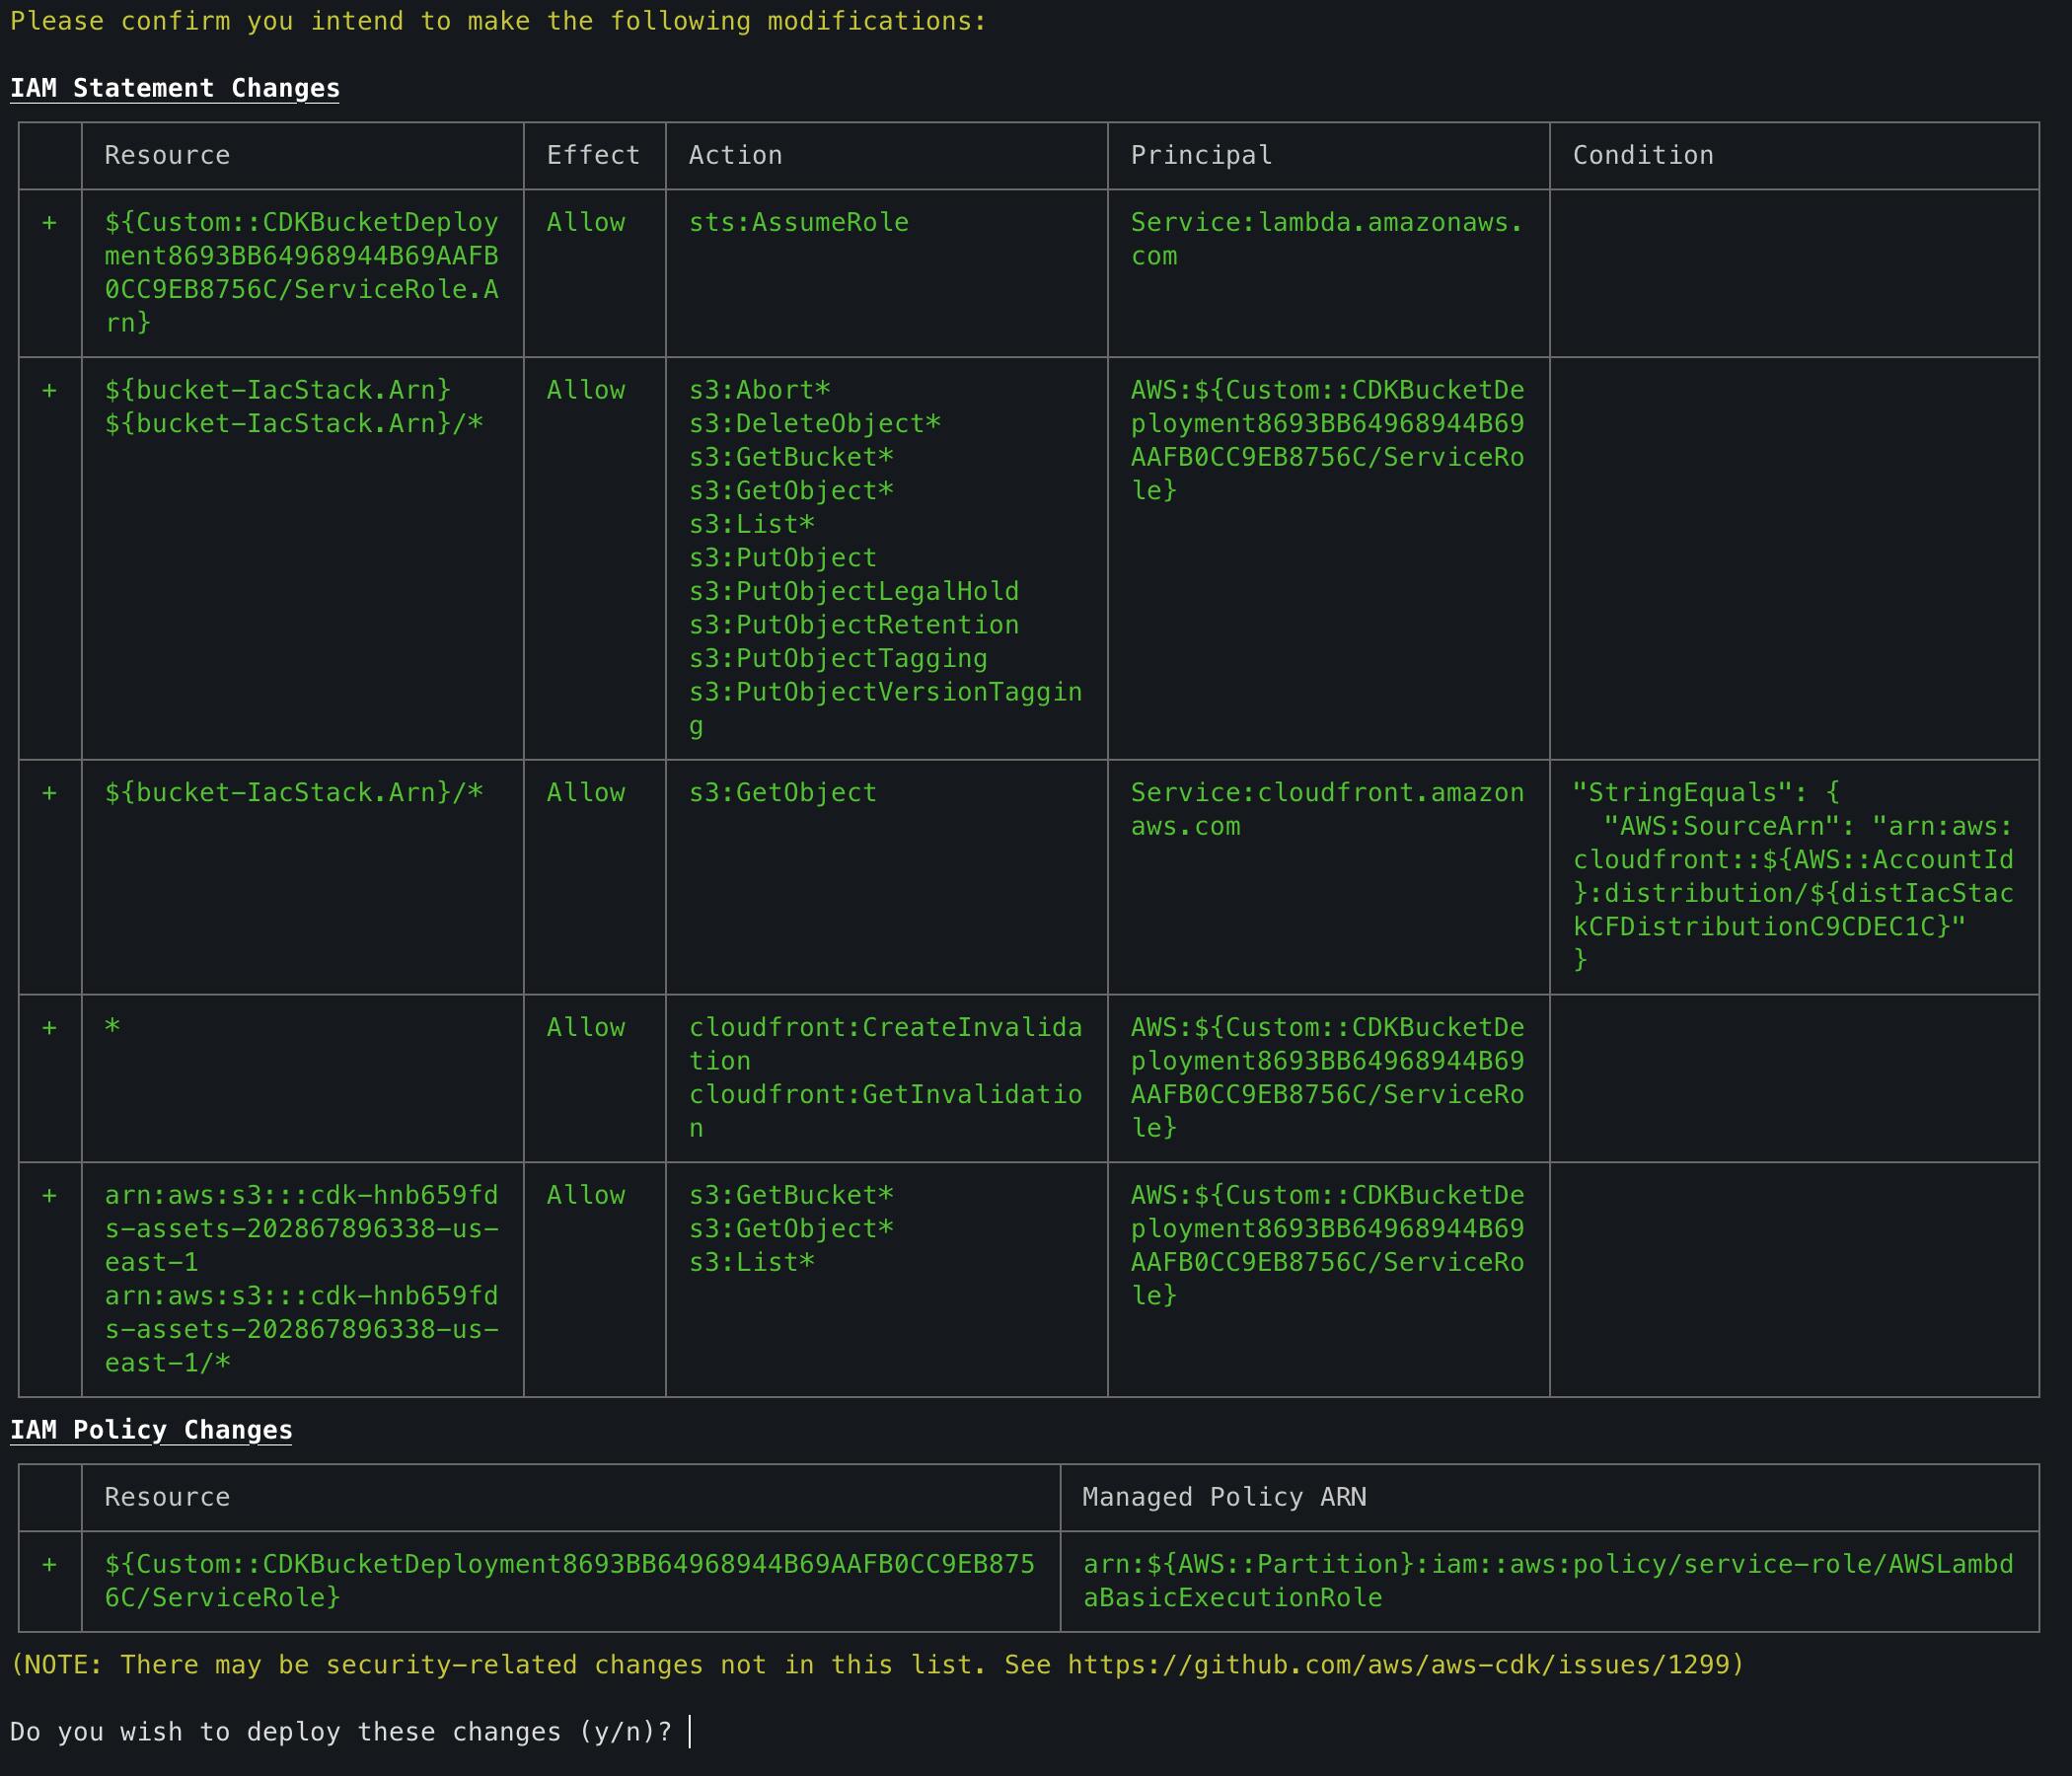
accept changes by typing y and pressing enter, now resources will be created, if all is ok you will see an output like this:
and you can check the AWS resources created with the stack by typing the command, where
IacStackis the name of the stack:aws cloudformation describe-stack-resources --stack-name IacStackyou will see a list of resources like this:
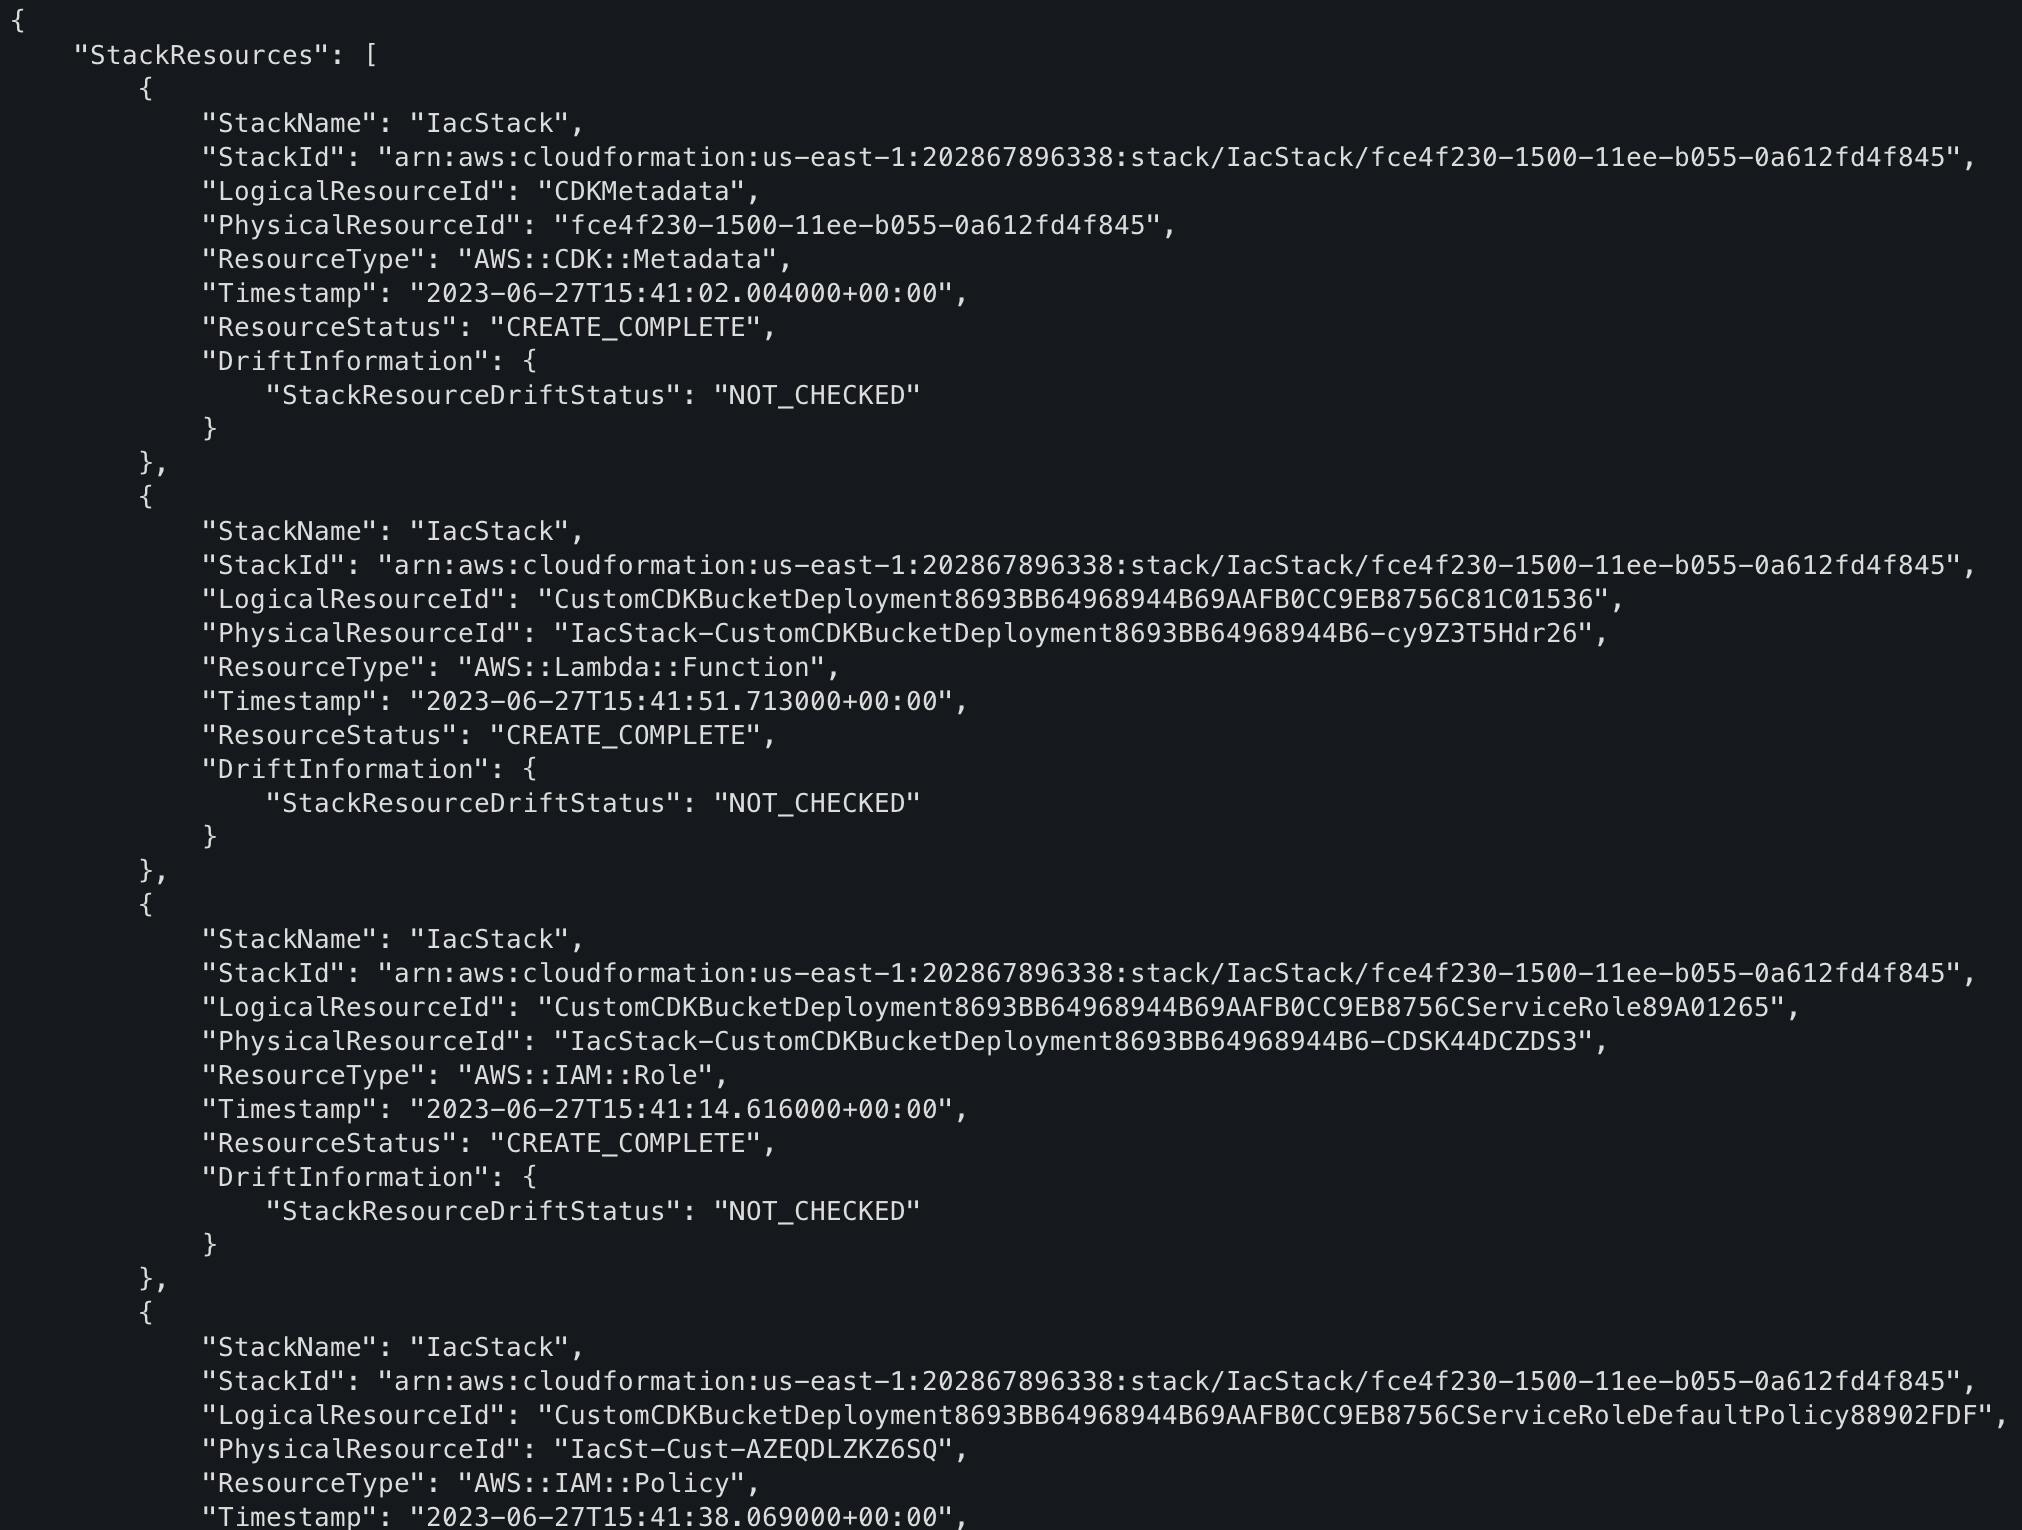
Copy the "PhysicalResourceId" of AWS::S3::Bucket and AWS::CloudFront::Distribution resource types, we need these values later.
Now, you can open the static site in your web browser, and go to the URL domain, in my case
https://elvisbrevi.com: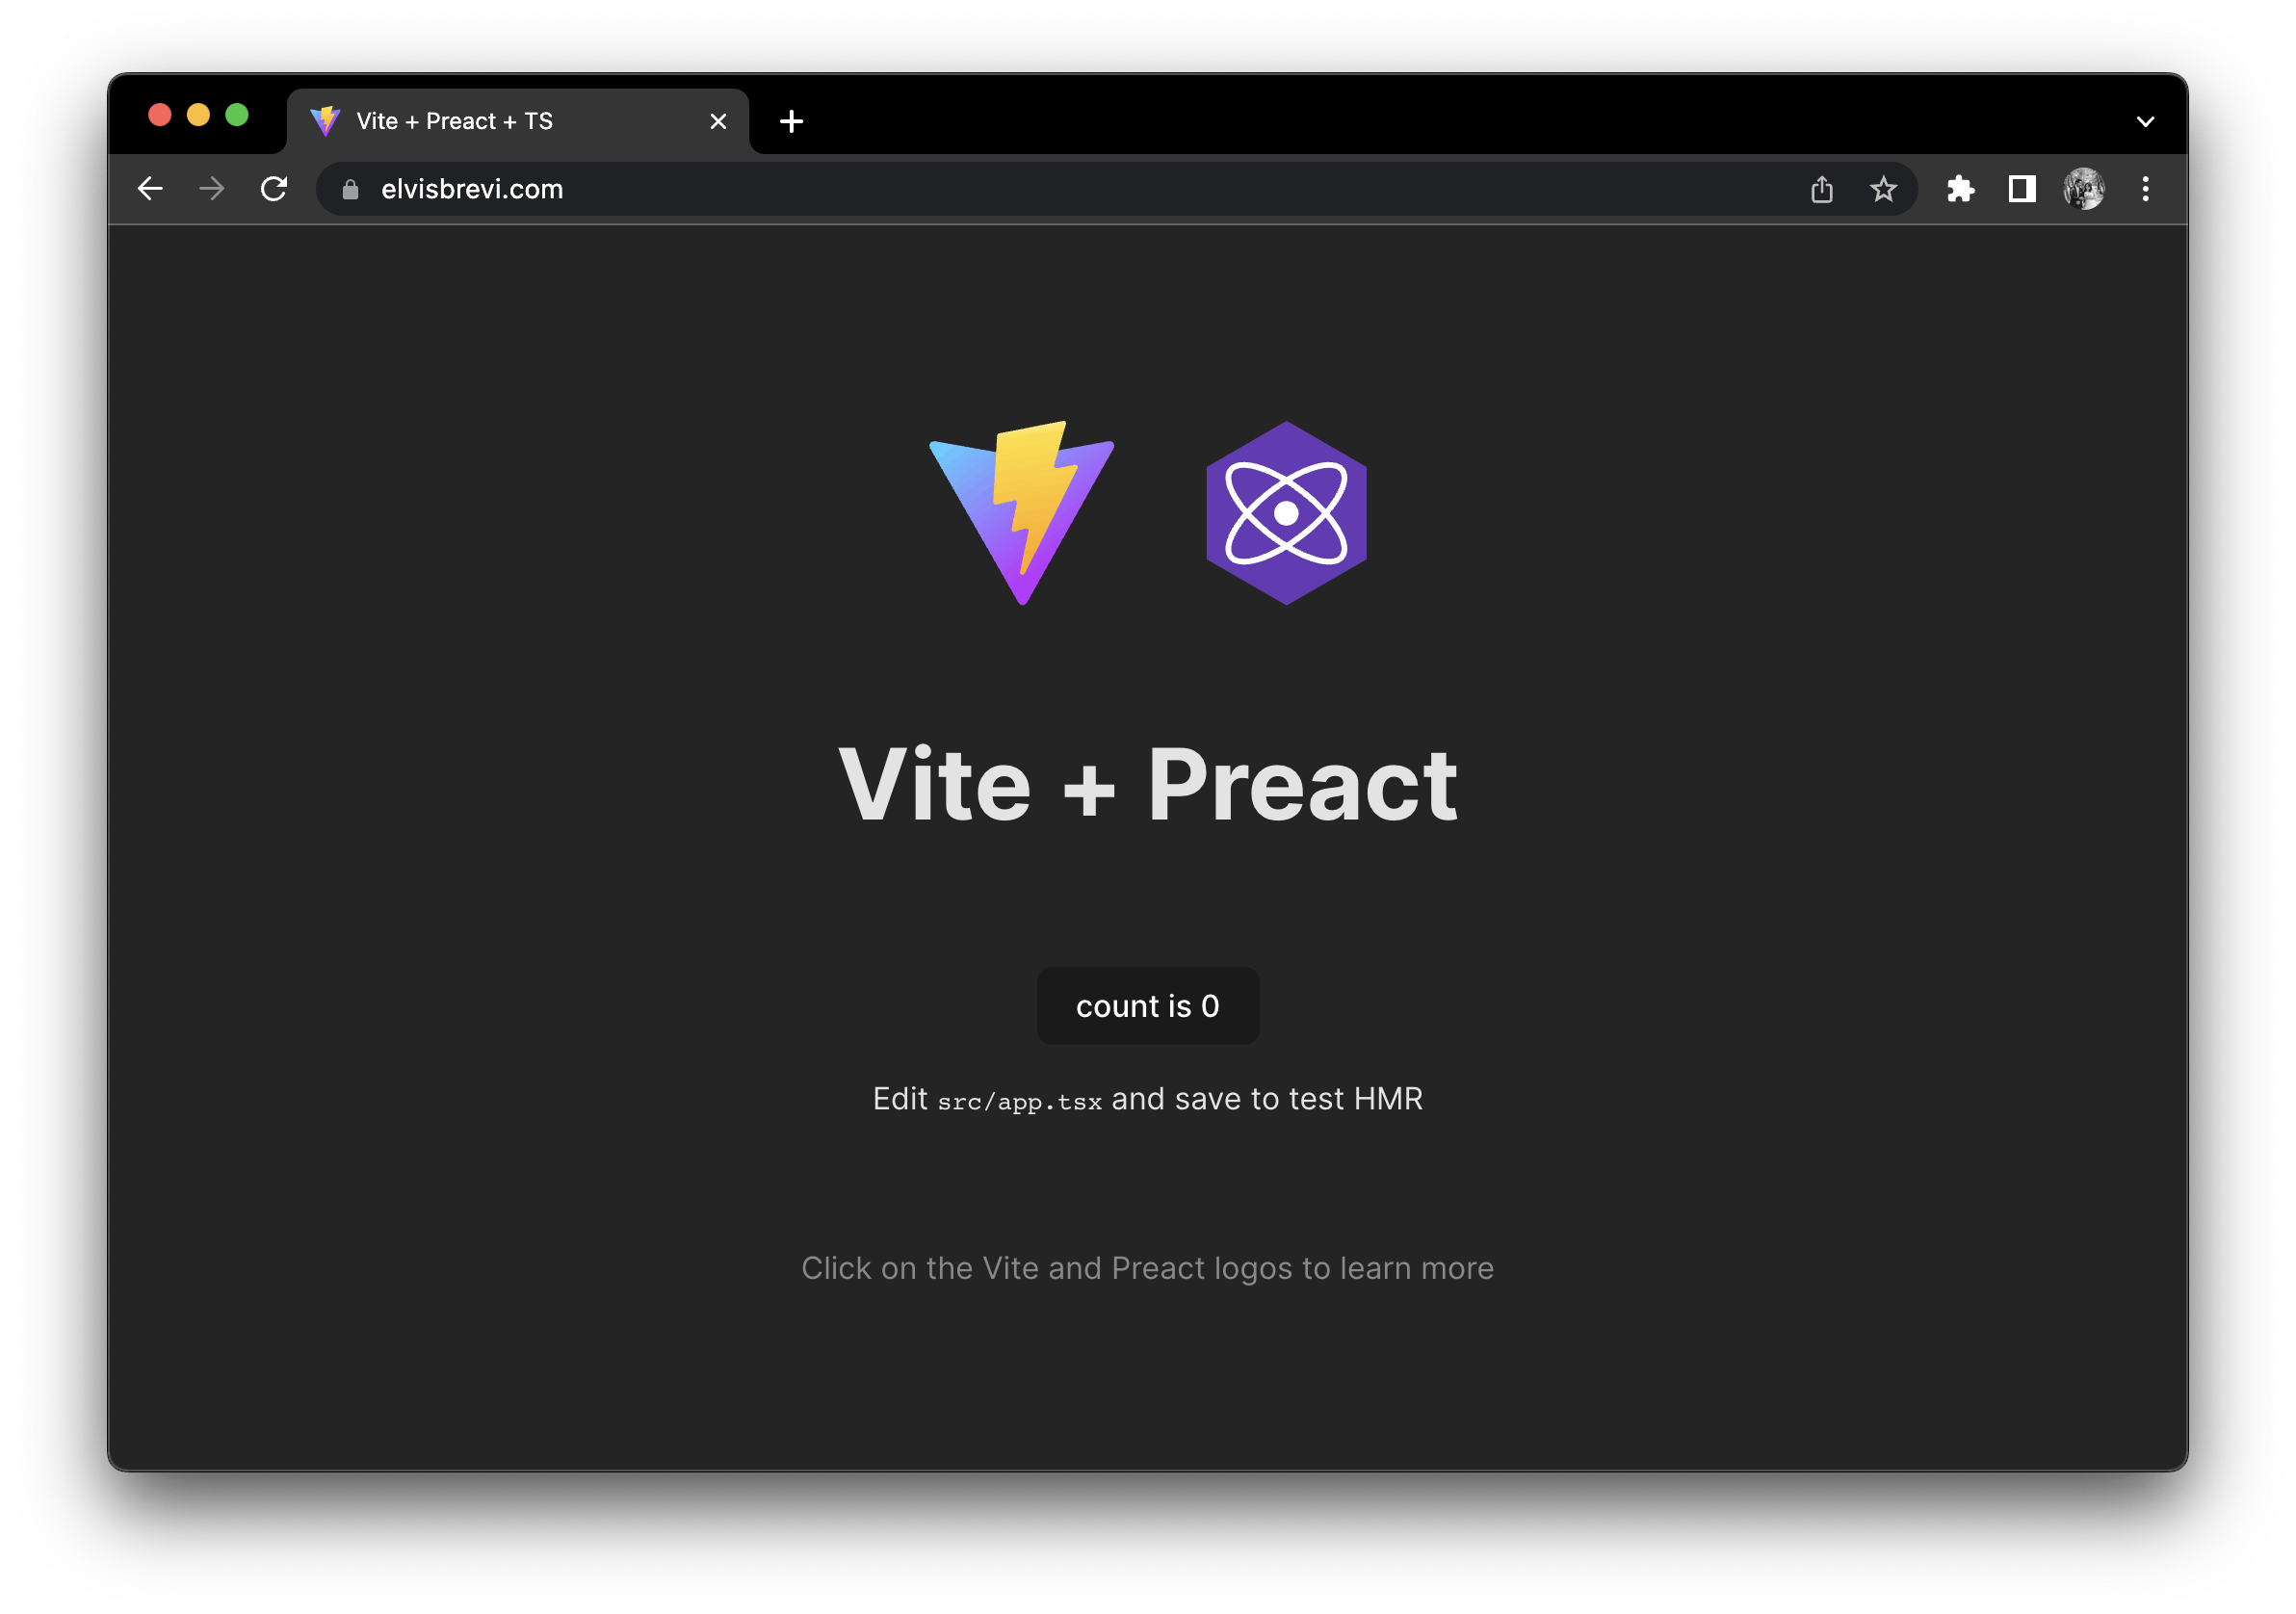
🔄 CI/CD (GitHub Actions)
🔐 Github Secrets
Before creating continuous integrations and continuous delivery for your project, we need to specify in our GitHub repository some key values from AWS, Access Key ID, Secret access key, our Bucket, and CloudFront Distribution ids previously created in the CDK project deployment, and that you can see with aws cloudformation describe-stack-resources --stack-name IacStack command.
First, in the root folder project, create and edit the .gitignore file and add a .env extension to ignore secret values in future commits:
 # create .gitignore
 touch .gitignore
 # edit .gitignore
 code .gitignore
Add edit
.gitignoreto ignore all .env files with this extension:**/.envCreate a new text file with the
.envextension for storing your GitHub secrets:touch .envThen paste these values and replace them with your values and save:
 AWS_ACCESS_KEY_ID=YOUR_VALUE
 AWS_SECRET_ACCESS_KEY=YOUR_VALUE
 BLOG_BUCKET=YOUR_VALUE
 BLOG_DISTRIBUTION=YOUR_VALUE
Now, in the terminal go to the
secrets.envdirectory and run the GitHub CLI command:gh secret set -f .envAnd you will see an output like this:

🚀 Workflows
A GitHub workflow is an automated sequence of actions that are executed in response to specific events in a GitHub repository. These workflows are defined using a YAML file that describes the tasks to be performed, as well as the rules and conditions for their execution.
A workflow can be triggered by various events such as creating a new pull request, publishing a new release, creating or deleting tags, or modifying branches, among others.
Each workflow is composed of one or more jobs, which are individual units of work that are executed in parallel or sequentially within the workflow. Each job can contain a set of steps that define the specific actions to be performed, such as code compilation, test execution, documentation generation, or application deployment.
Then we need to create two GitHub workflows, a workflow for deploying automatic changes for the frontend project and another for the iac project, follow the next steps:
 # create GitHub workflows folder
 mkdir -p .github/workflows
 # go in there
 cd .github/workflows
 # create workflows files
 touch frontend.yml iac.yml
if you have done this correctly, you will see a directories hierarchy like this in your editor code:

Then edit the infrastructure workflow
iac.ymlfile, and paste this code:name: IAC deployment. on: push: branches: - master paths: - 'iac/**' pull_request_review: types: - submitted env: IAC_STACK: IacStack jobs: build: name: Build Infra Stack runs-on: ubuntu-latest steps: - name: Check out code uses: actions/checkout@v3 - name: Configure AWS credentials uses: aws-actions/configure-aws-credentials@v2 with: aws-access-key-id: ${{ secrets.AWS_ACCESS_KEY_ID }} aws-secret-access-key: ${{ secrets.AWS_SECRET_ACCESS_KEY }} aws-region: us-east-1 - name: Build Vite Project run: | cd frontend npm install npm run build - name: Create Iac Stack with CDK run: | cd iac npm install npm ci npm install -g aws-cdk cdk deploy $IAC_STACK --require-approval neverThis is a GitHub Actions workflow that handles the deployment of Infrastructure as Code (IaC) using AWS CDK (Cloud Development Kit) on AWS. Let's go through each section of the workflow:
name: IAC deployment: Specifies the name of the workflow, which is "IAC deployment".
on: Defines the events that trigger the workflow:
push: The workflow is triggered when a push event occurs on the
masterbranch.branches: Specifies the branches on which the workflow is triggered.
paths: Limits the workflow to be triggered only when changes are made to files within the
iac/directory and its subdirectories.pull_request_review: The workflow is also triggered when a pull request review is submitted.
types: Defines the types of pull request review events that trigger the workflow, in this case, only submitted reviews.
env: Defines environment variables for the workflow. In this case, it sets an environment variable
IAC_STACKwith the valueIacStack.jobs: Defines the jobs that will be executed in the workflow. In this case, there is only one job named
build.build: Defines the tasks that will be executed in the
buildjob:name: Specifies the name of the job, which is "Build Infra Stack".
runs-on: Specifies the operating system on which the job will run. In this case, it is set to
ubuntu-latest.steps: Defines the individual steps that will be executed in the job.
steps: Contains the individual steps that will be executed in the job:
Check out code: Uses the
actions/checkout@v3action to fetch the source code from the repository.Configure AWS credentials: Uses the
aws-actions/configure-aws-credentials@v2action to configure AWS credentials using the secret variablesAWS_ACCESS_KEY_IDandAWS_SECRET_ACCESS_KEY.Build Vite Project: Navigate to the
frontenddirectory, installs npm dependencies, and build the Vite project.Create Iac Stack with CDK: Navigates to the
iacdirectory installs npm dependencies and aws-cdk and usescdk deployto deploy the infrastructure stack defined by AWS CDK. The stack name is obtained from theIAC_STACKenvironment variable.
In summary, this workflow is triggered when changes are made to files within the iac/ directory or when a pull request review is submitted. It then builds a Vite project and deploys an infrastructure stack using AWS CDK on AWS, all within an Ubuntu execution environment.
After creating the workflow files, in your editor code open the
frontend.ymlfile, and paste this code:name: Frontend deployment. on: push: branches: - master paths: - 'frontend/**' pull_request_review: types: - submitted jobs: build: name: Build Static Website runs-on: ubuntu-latest steps: - name: Check out code uses: actions/checkout@v3 - name: Configure AWS credentials uses: aws-actions/configure-aws-credentials@v2 with: aws-access-key-id: ${{ secrets.AWS_ACCESS_KEY_ID }} aws-secret-access-key: ${{ secrets.AWS_SECRET_ACCESS_KEY }} aws-region: us-east-1 - name: Build Vite Project run: | cd frontend npm install npm run build - name: Deploy static website to S3 bucket run: | cd frontend aws s3 sync dist s3://${{ secrets.BLOG_BUCKET }} --delete aws cloudfront create-invalidation \ --distribution-id ${{ secrets.BLOG_DISTRIBUTION }} \ --paths "/*"This GitHub Actions workflow is designed to deploy a frontend application to an S3 bucket and invalidate the CloudFront cache. Here's a breakdown of the workflow:
The workflow is triggered when there is a push event to the
masterbranch and when a pull request review is submitted.The push event is filtered only to trigger the workflow if the changes occur in the
frontend/the directory or its subdirectories.The pull request review event is not filtered and triggers the workflow for any submitted review.
Now let's dive into the jobs section:
The workflow contains a single job named
build, which represents the deployment process.The job runs on an Ubuntu environment (specifically
ubuntu-latest).The job consists of multiple steps, each performing a specific task.
The steps in the job are as follows:
Check out code: This step uses the
actions/checkout@v3action to fetch the source code from the repository.Configure AWS credentials: This step uses the
aws-actions/configure-aws-credentials@v2action to set up AWS credentials for subsequent steps. The AWS access key ID and secret access key are retrieved from the repository secrets.Build Vite Project: This step navigates to the
frontend/directory installs the necessary dependencies usingnpm install, and builds the Vite project usingnpm run build.Deploy the static website to the S3 bucket: This step navigates to the
frontend/directory and uses the AWS CLI (aws s3 sync) to synchronize the contents of thedist/directory (generated by the previous step) with an S3 bucket specified by the repository's secretBLOG_BUCKET. The--deleteflag ensures that any files in the bucket not present in thedist/directory are deleted.Invalidate CloudFront cache: This step uses the AWS CLI (
aws cloudfront create-invalidation) to create an invalidation for the CloudFront distribution specified by the repository's secretBLOG_DISTRIBUTION. The invalidation path"/*"means that all files in the distribution's cache will be invalidated.
Overall, this workflow automates the deployment of a front-end application to an S3 bucket and ensures that the CloudFront cache is updated accordingly.
Now we need to commit changes to the GitHub repository with the following git commands:
 # stage all changes in the current directory
 git add .
 # create a new commit with the changes that were previously staged
 git commit -m 'first commit'
 # upload the committed changes to a remote Git repository
 git push
After pushing changes to the repository, you can list your new workflows by typing:
gh workflow listYou can see something like this:

🎮 Demo
All configurations are ready, we created a GitHub repository for version control and CI/CD, a static website with Vite, and the infrastructure for this with Amazon Web Services. Now we can modify our project and the changes will be published automatically.
First, try making a change in the infrastructure, for example, changing the name of Origin Access Control:
  const oac = new cloudfront.CfnOriginAccessControl(this, `oac-${id}`, {
        originAccessControlConfig: {
            name: `StaticWebOriginAccessControl`,
            originAccessControlOriginType: 's3',
            signingBehavior: 'always',
            signingProtocol: 'sigv4',
        },
  });
Save, and commit your changes.
  git add .
  git commit -m 'rename origin access control'
  git push
You can see the progress of workflow execution by typing the next command in the terminal:
gh run watchYou can see that it only shows the
iacworkflow running because we only made a change in theiacproject folder, and you will see an output like this when the workflow is complete:
Now, make a change in your frontend project, edit your main page in
frontend/src/app.tsx:import './app.css' export function App() { return ( <> <h1>Hi World!</h1> </> ) }Save and commit your changes
  git add .
  git commit -m 'hello world message'
  git push
Remember, you can see the progress of workflow execution by typing the next command in the terminal:
gh run watchNow, you can see that it only shows the
frontendworkflow running because we only made a change in thefrontendproject folder: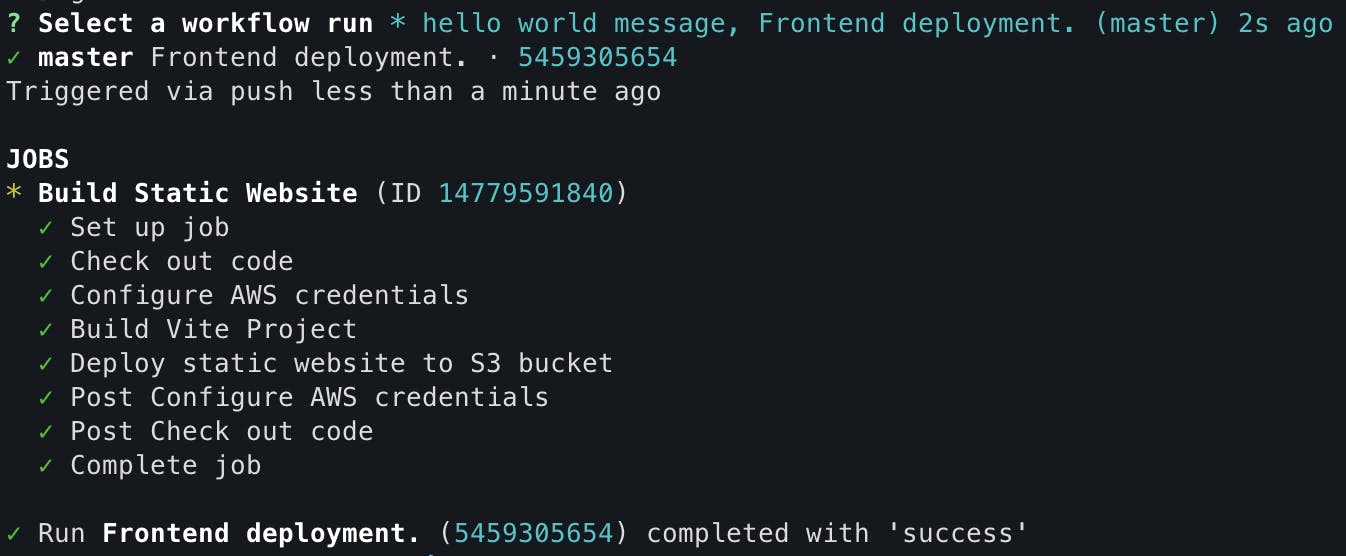
Finally, our changes are deployed automatically:
🤔 Conclusion
In this article, I shared my experience creating my blog (elvisbrevi.com) using the free services of AWS in its "free tier" layer. I used Vite and AWS Cloud Development Kit to create a static application and generate infrastructure as code with AWS CloudFormation. Additionally, I implemented continuous integration and deployment using GitHub Actions. I utilized services such as S3 Bucket, CloudFront, Route53, and AWS Certificate Manager to securely and optimally host my static site. And all of this was done solely using the CLI, without navigating through the AWS or GitHub interfaces. Overall, this combination of technologies allowed me to efficiently create and deploy my blog using free resources on AWS.